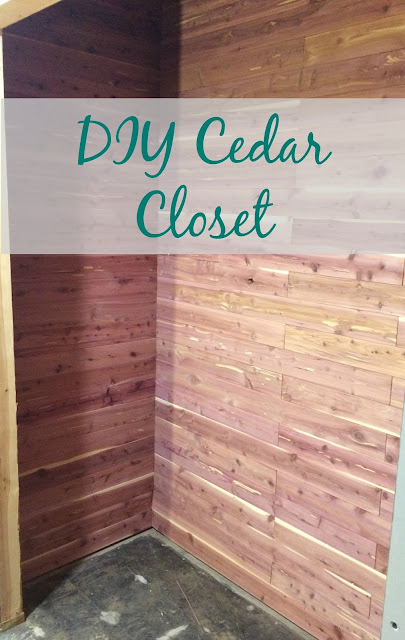
You may wonder why a cedar closet? Cedar, not only smells great, but it also repels pests such as moths, cockroaches, and silverfish and is resistant to mildew. Being in a basement, I feel like it is more susceptible to moisture and bugs, so it was important to protect the items we are storing down there.
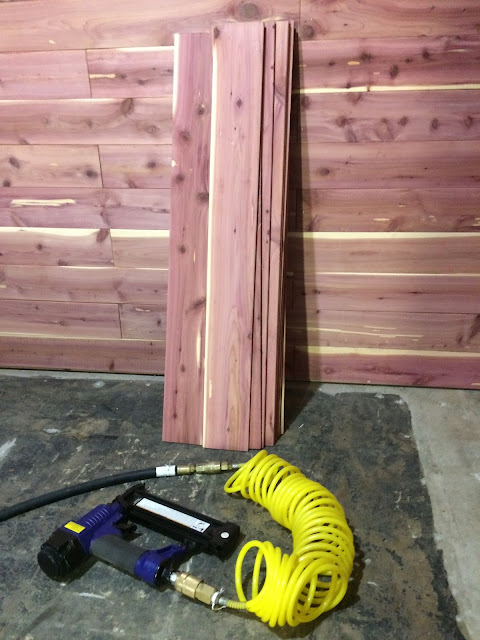
The planks were very easy to install; my husband completed our closet by himself in less than a day. (Thanks honey!) Since we were installing the planks over a concrete block wall, we needed to add a couple of 2x4's to attach them to. We chose to only add two strips since the design did not need to be intricate. The most important (and probably hardest) part of the project is to get the bottom row of planks level and figure out the tongue and groove pattern.
The instructions on the box suggest to install it in a subway pattern for an aesthetically pleasing look.
Once the bottom two rows were in, then my hubby just had to cut the remaining planks to size and continue the pattern up to the top of the wall. To easily make the cuts, my hubby screwed a block into his work bench to act as a "stop" so he could quickly cut the planks to size.
Since we were installing the planks in a closet, we picked an easy pattern, staggering between the two furring strips.
He repeated the process on both sides of the closet. The end result looks (and smells) so good! This closet will be perfect for storing our off-season clothes and decorations once we finish the drywall, paint, and floors.
Disclosure: A special thanks to to CedarSafe for providing the materials to complete this project. All opinions are 100% my own.


Wow! I love the look of the cedar in this closet... it really is beautiful! I love the idea of a closet downstairs for extra storage. We have pretty big closets upstairs, but it would be nice to have extra room for overflow or for items I just don't wear in the winter! You'll have to share photos after you organize the closet with all of your things in it!
ReplyDeleteCarrie
curlycraftymom.com
Thank you Carrie! It turned out better than I even expected. I will definitely recap when we get everything finished!
Delete