Showing posts with label Paint. Show all posts
Showing posts with label Paint. Show all posts
Wednesday, March 18, 2020
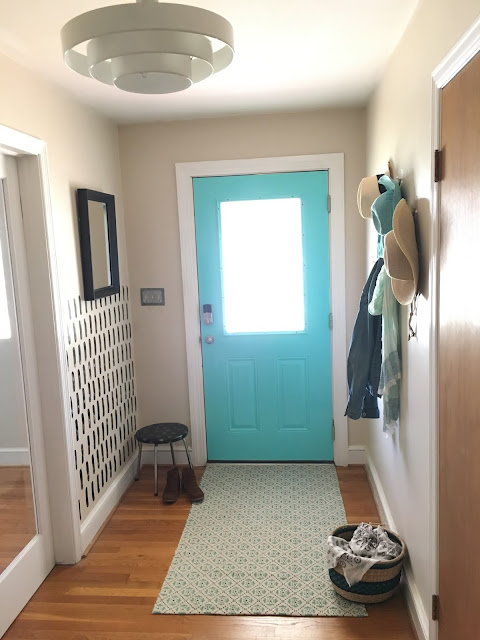
Updated Entry with Hand Painted Wall
Monday, December 9, 2019
Guest Bathroom Update with Rust-Oleum
Do you have guests coming for the holidays or is your builder grade bathroom in need of an update? My bathroom was not horrible, but it needed a refresh. Since my son (who mainly used this bathroom) was away at college, I had some time to tear it apart for a few days. See how I updated our guest bathroom over a couple of weekends with some paint and new accessories...for less than $200!
I painted the vanity shortly after we moved in with a chocolate brown paint and it just made the bathroom feel a little dark. After I painted my kitchen cabinets with Rust-Oleum's Cabinet Transformation kit and had some left over, I decided to use it to update the vanity and medicine cabinet. Here is what the bathroom looked like when I started.
I painted the vanity shortly after we moved in with a chocolate brown paint and it just made the bathroom feel a little dark. After I painted my kitchen cabinets with Rust-Oleum's Cabinet Transformation kit and had some left over, I decided to use it to update the vanity and medicine cabinet. Here is what the bathroom looked like when I started.
Wednesday, July 31, 2019
MCM Inspired Cinder Block Wall
Do you have a plain wall that needs a little color? We did! Our deck is built on a cinderblock wall that faces the pool area. We painted the blocks white a few years ago to make the area look a little more finished, but it needed something else.
Wednesday, April 24, 2019
How to Paint Wood Cabinets (One Room Challenge) - Week 4
Rust-Oleum provided the kit for this project, but all opinions are my own.
If you are just joining me, I am a guest participant in the One Room Challenge hosted by Linda at Calling It Home. We are in week 4 and I am finally panting our cabinets. I am using Rust-Oleum Cabinet Transformation kit which comes with all the supplies needed to update your cabinets. I am always for products that make my DIY life easy and this kit comes with almost everything you need.
It is easy as 1-2-3...Clean, Paint, Seal!
Tuesday, February 5, 2019
DIY Stenciled Farmhouse Wooden Sign
Now that Christmas has come and gone, I can share one of the gifts I made, a stenciled farmhouse style sign. Farmhouse style signs are very popular right now and I am going to show you how you can make one for yourself. It was easy since I used my Cricut to cut a stencil out of vinyl!
This post contains affiliate links for your convenience, which means I receive a small financial compensation if you make a purchase using this link. You can read more about affiliate links here.
Sunday, November 11, 2018
Painted Chipboard Christmas Wreath
It is time for this month's Craft and Create with Cricut Challenge, where several of my Cricut-loving blogger friends team up to bring you creative craft ideas. This month's theme is Christmas, to get you in the mood for holiday decorating.
I went back and forth over what I wanted to make. I really wanted to try my hand at using chipboard and the knife blade in my new Cricut Maker. I thought about making ornaments (which I will still do,) but settled on a layered chipboard "Joy" wreath for my door.
I went back and forth over what I wanted to make. I really wanted to try my hand at using chipboard and the knife blade in my new Cricut Maker. I thought about making ornaments (which I will still do,) but settled on a layered chipboard "Joy" wreath for my door.
Thursday, October 4, 2018
Scrap Wood Hat Rack
My son never liked wearing baseball caps until the last year. Once he started accumulating hats and hanging them on his curtain rods, I decided I needed to make him a rack for them. Since we have a ton of scrap wood, I started racking my brain on how to use what I had on hand to make a hat rack.
After looking on Pinterest for inspiration, I ended up on this simple design using a common 1" x 8" board and square molding.
After looking on Pinterest for inspiration, I ended up on this simple design using a common 1" x 8" board and square molding.
Sunday, September 9, 2018
DIY Clipboard Wall Art
I took a break from the Craft and Create With Cricut Challenge last month, but I am back with an easy project for you today. This month's theme is Home Decor and I am re-purposing a clipboard into wall art, using paint and pattered iron-on vinyl. It is the perfect addition to a gallery wall or office area.
This post contains affiliate links for your convenience, which means I receive a small financial compensation if you make a purchase using this link. You can read more about affiliate links here.
Thursday, August 9, 2018
Geometric Painted Cork Boards
My office at work recently got a new coat of paint, which made me want to spruce up my decor a little. I have a couple of large bulletin boards in my office, so I thought I would make them pretty with coordinating paint colors. This project is super easy, yet makes a big impact! This is the perfect back to school project, as it gives you a place to organize all the forms and school schedules. You can paint it to match your Command Center, office space, or homework area.
Tuesday, June 26, 2018
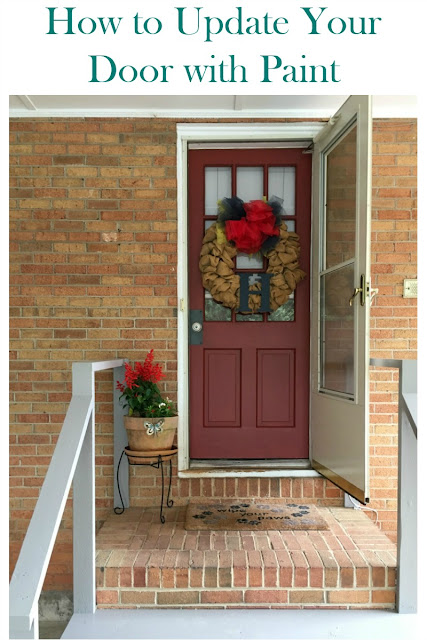
How I Painted My Door and Stairs In One Day
It has been a couple of months since I posted a house DIY, mostly because we needed a break after finishing the basement. Our new focus is on the outside of our house. We have done several projects over the years, such as updating and staining our deck, painting the concrete around the pool, and painting the exterior siding, but there is still much we want to do. We recently added a firepit area, moved the pool pump, and are currently working on a boardwalk/walkway in the backyard. We also spent Memorial Day updating our side entrance.
Tuesday, April 17, 2018
Llama Painted Canvas Wall Decor
One of my friends is pregnant with her first child and the nursery theme is llamas. If you have been on Pinterest or social media at all, you will know that the llama trend is going strong, so I jumped at the chance to make something for her! I asked her to send pics of her nursery for inspiration and once I saw the brightly colored animal prints she picked, I had to do something along those lines. I had an 8x10" canvas on hand, so I decided to get out my paint and Cricut machine and go to work!
Tuesday, March 6, 2018
Transform Your Stairs Using Paint
Do you have stairs that are covered in dirty, ugly carpet? Well, we did...and as part of our basement renovation, we were going to change that! We ripped up the old, nasty carpet then painted the steps and risers. We ended up having to also use carpet tiles on them because our dog slipped when going down the stairs and got freaked out.
 Surprisingly, the process of ripping up the carpet was not as hard as I thought it would be. You just need a few tools and a lot of elbow grease.
 Surprisingly, the process of ripping up the carpet was not as hard as I thought it would be. You just need a few tools and a lot of elbow grease.
Tuesday, February 27, 2018
Hand Painted Sign Using Cricut Vinyl as a Stencil
This post contains affiliate links for your convenience, which means I receive a small financial compensation if you make a purchase using this link. You can read more about affiliate links here.
I made several gifts this past Christmas using my Cricut. One of my favorites was a Cedar Plank "home" Sign for my mother who lives in Virginia. I used Cricut vinyl as a stencil for the state outline and text. I used this same technique on my laundry sign, but tweaked the process this time.
Tuesday, January 30, 2018
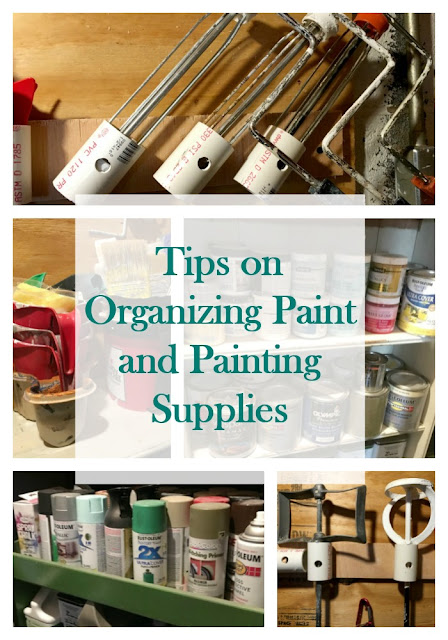
How to Organize Paint and Supplies
Welcome back to the second in my series of Home Organization posts! Previously, I shared how to declutter and store your holiday decor and wrapping supplies. Today I am going to tackle the dreaded paint closet. If you are a DIYer like me, you probably have a ton of paint cans, jars, and sprays in several sizes. Not to mention, you also have all the related supplies such as brushes, rollers, roller holders, poles, pans, and cups! We are lucky enough to have a closet area under our basement stairs to store these in, but how do I keep it organized?
Tuesday, January 2, 2018
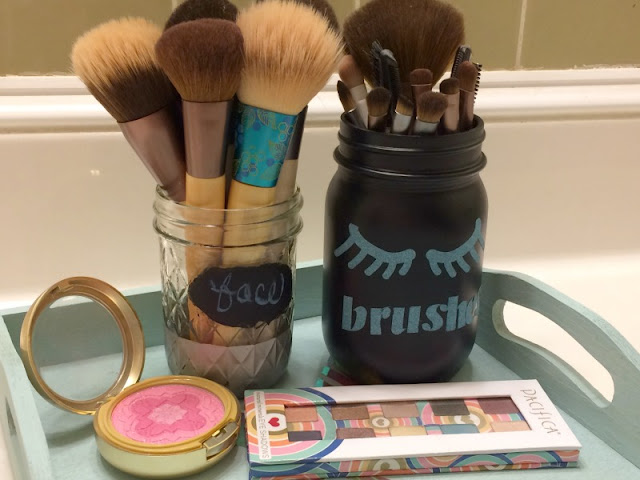
Glittery Mason Jar Makeup Brush Holder
Happy New Year! Can you believe it is already 2018? What better way to start off the new year than with an organization project? I love to use mason jars in my home decor and DIY projects! They come in many sizes and can be used in so many ways. Today, I am sharing how I re-purposed mason jars into decorative holders for my makeup brushes.
This post contains affiliate links, which means I receive a small financial compensation if you make a purchase using this link. You can read more about affiliate links here.
Tuesday, November 28, 2017
Wooden Snowflake Christmas Ornament + Crafty Giveaway
Christmas crafting is in full swing at my house. I have been using my Cricut for ornaments, decor, and gifts. Today I am sharing an easy wooden snowflake Christmas ornament that can be personalized with any word or design.
If you stick around till the end, I will tell you about FOUR crafty giveaways and how you can enter!
Tuesday, October 17, 2017
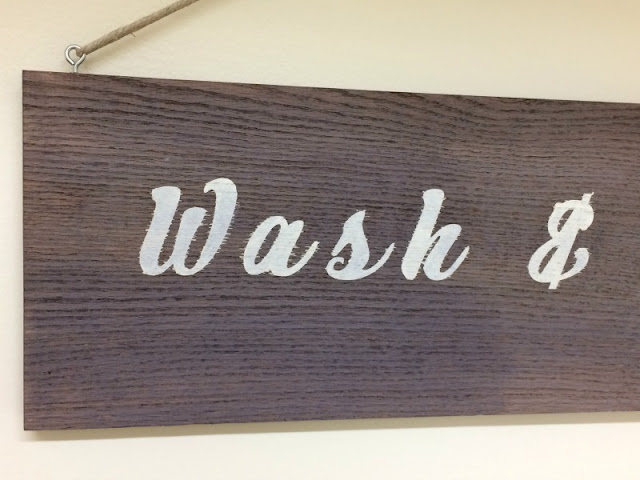
DIY Farmhouse Style Laundry Sign
Since we recently finished building a laundry room in our basement, I have been trying to find ways to make it pretty. I have already made this Chalkboard Wall Art to hold my lost socks and I wanted a sign on the opposite wall too. When I got the chance to participate in a Wooden Sign blogger challenge for Rust-Oleum, I knew I wanted to make something for the Laundry room.
I picked up a mat to go in front of the washer and dryer that had a retro vibe, so I wanted to stay with that look.
Tuesday, October 10, 2017
Tips on Painting a House + Giveaway
Since we moved into our home 8 years ago, we have changed pretty much everything on the outside of our house. We rebuilt the deck, re-painted the entry doors, changed the color of the shutters, and updated the landscaping. The only thing left was repainting the exterior of the house. The paint on the siding was in pretty good shape, with the exception of a few spots, but my husband hated the color. It was a boring tan that blended in with the roof and brick. Since we recently finished our major basement reno, we had a couple of free weekends to tackle this project.
This post contains affiliate links, which means I receive a small financial compensation if you make a purchase using this link. Thank you for supporting Real Girl's Realm!
Saturday, September 23, 2017
DIY Wooden Arrow Wall Hooks
We finally finished building the bathroom in our basement and I recently shared the reveal with you. In that post, I shared that I still had a few more small projects to do in the bathroom and having a place to hang swimsuits and clothing was one of them.
I decided to DIY my own and created this Wooden Arrow Wall Hooks project out of scrap wood, hardware from the salvage store and wooden arrows from Oriental Trading.
Saturday, September 9, 2017
3 DIY Decorated Pumpkin Ideas
I am partnering with Oriental Trading to bring you 3 DIY ideas for decorating a ceramic pumpkin for Halloween. I received product in exchange for this post, but all thoughts are 100% my own.
Fall is here, so it is time to pull out everything pumpkin for my decor! Since we finished our basement renovation, I now have two mantels to decorate! I decided to use fall decor on the upstairs one and Halloween decor on the one in the basement. I picked out a set of three ceramic pumpkins from Oriental Trading and came up with three different ideas for decorating them.
Subscribe to:
Posts (Atom)

