This post contains affiliate links, which means I receive a small financial compensation if you make a purchase using this link. You can read more about affiliate links here.
Supplies needed:
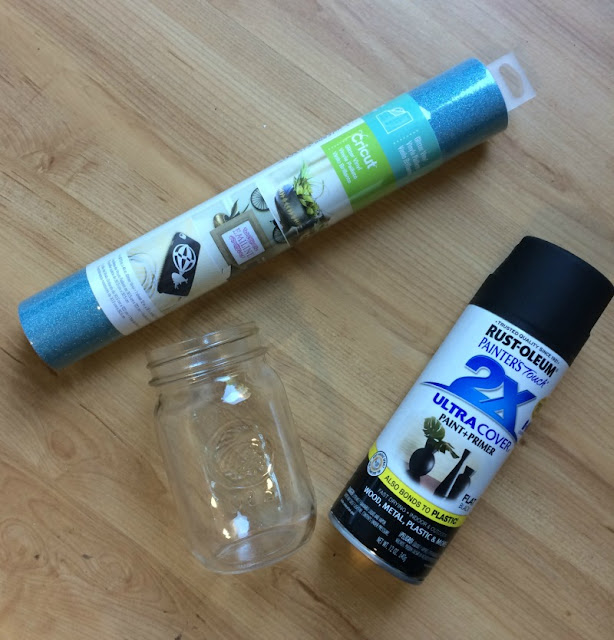
Mason jars
Spray paint
Chalkboard spray paint
Cricut Cutting Machine
Glitter Vinyl
Standard Grip cutting mat
Painters tape
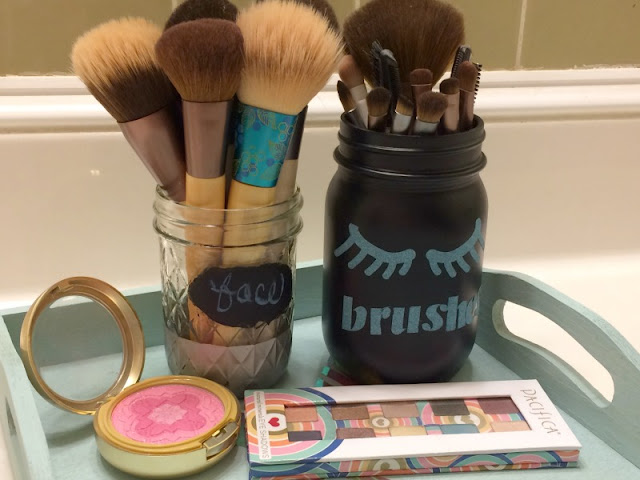
Large Glitter Vinyl Jar
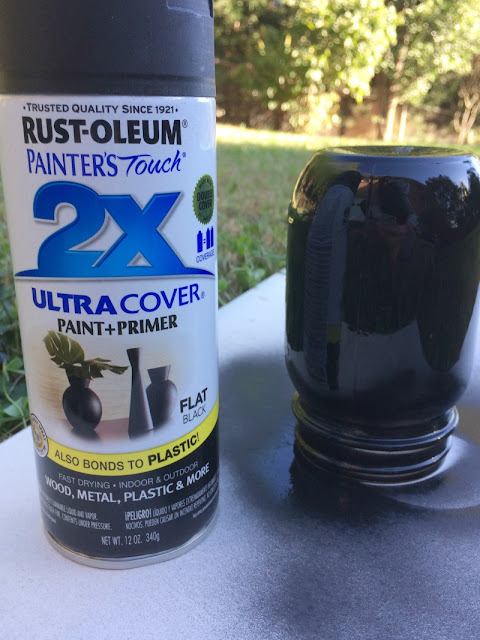
I used Rust-Oleum black matte spray paint for the base, applying 2 coats.
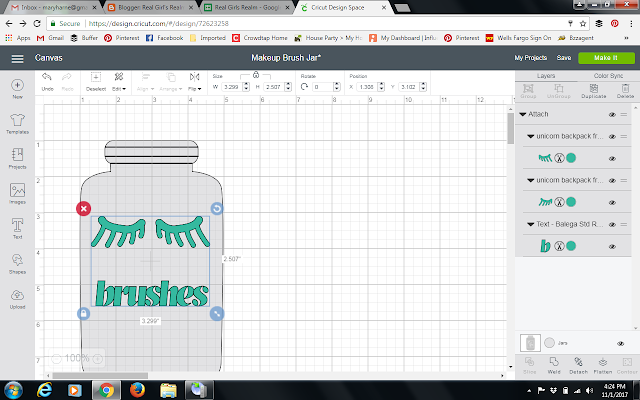
I used the Cricut Design Space to make the design for my jar. I used the Jar Template for placement, which really helped me determine the sizing. I wanted to use eyelashes and surprisingly, I had a hard time finding a free image, but I ended up using the ones from this Unicorn Backpack Design.
Next, I cut the eyelashes and word "Brushes" out of blue glitter vinyl. I then applied the vinyl to the jar. I tried to use transfer tape, but the glitter would not stick to it, so ultimately I just used my fingers to place it on the jar.
Small Chalkboard Jar
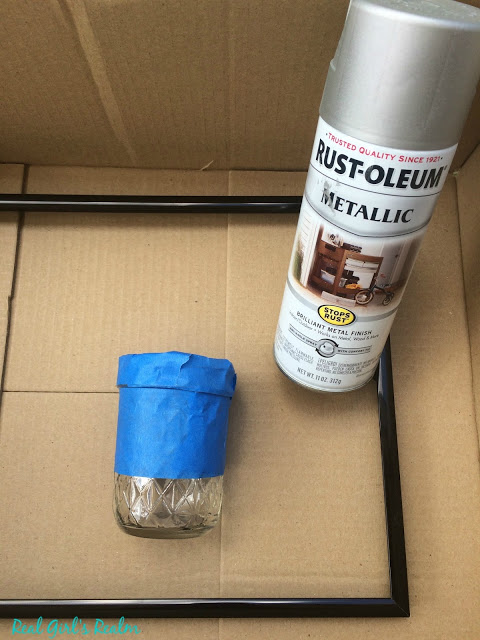
First, I taped off the top of the jar with painters tape and used Rust-Oleum Metallic silver spray paint to paint the bottom third of the jar.
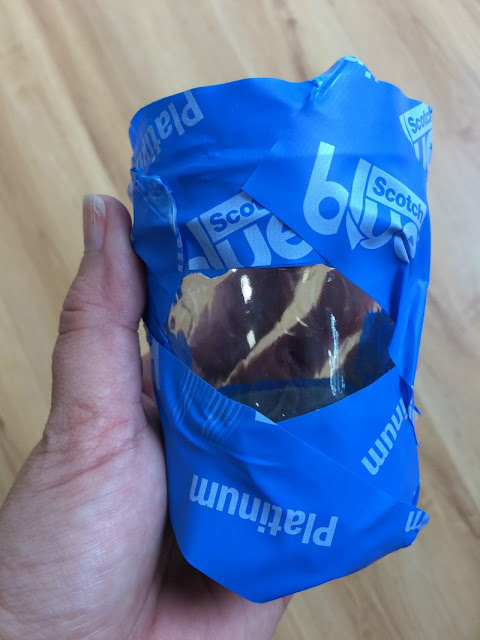
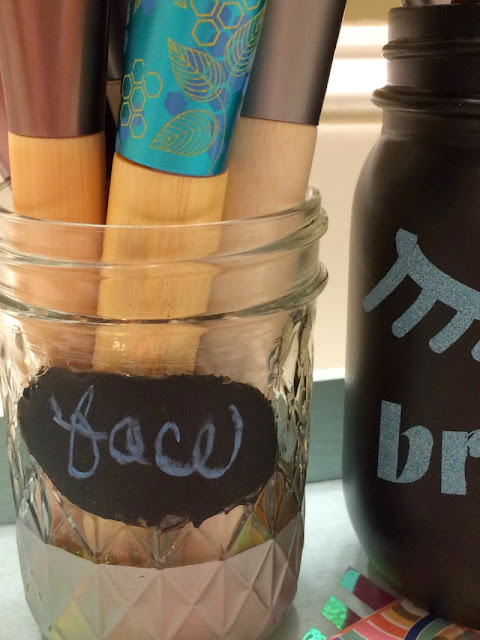
Once that was completely dry, I taped off the entire jar, just leaving the smooth label area on the front exposed. I used Rust-Oleum Chalkboard paint to spray 2 light coats on the exposed area and allowed it to dry completely.
When I removed the tape, my painted circle was not perfect, so I scraped a little of the paint off to clean up the edges.
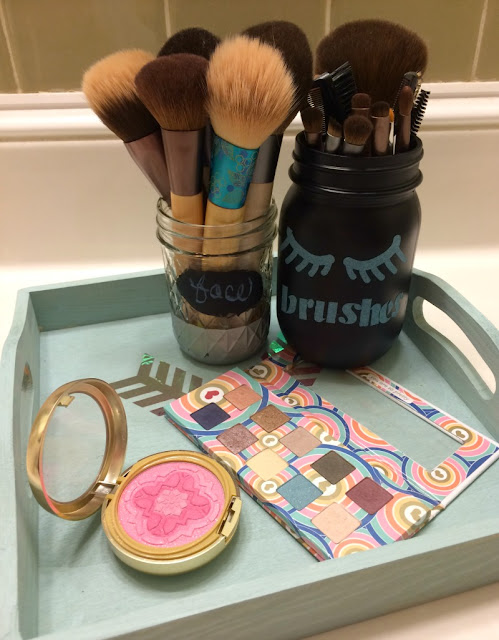
I filled both jars with my makeup brushes and separated the eye brushes from the face ones.
Pin Me for Later!





Great idea!!
ReplyDeleteJaymie
www.jaymieashcraft.com
The one with the spray paint on the bottom is my fav! I always like being able to see down into the jar.
ReplyDeleteOh yeah, that is always good!
Delete