Aspect Tile provided the back splash tile kit for this project, but all opinions are my own.
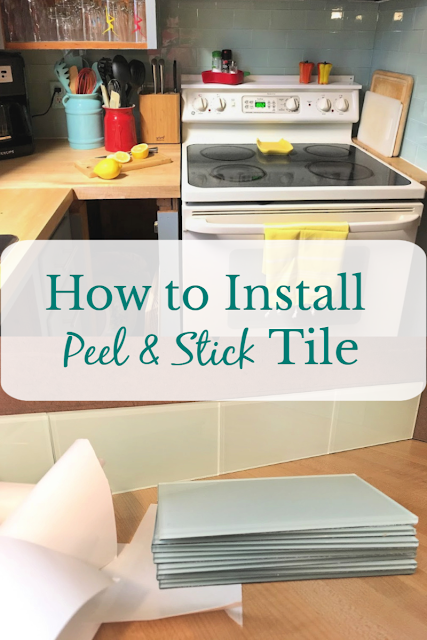
We recently updated our kitchen for the One Room Challenge. One of the things we did was replace the outdated tile back splash with Aspect Peel & Stick glass tiles. These tiles are available in metal, stone, glass, and wood and will fit in with any style of room.
This was my first experience with tiling, so I did not want to deal with grout. This product was easy to install; I did it in a few hours over a weekend.
I was introduced to this brand a couple of years ago at the Haven Blogger Conference, and was given a sample kit that sat in my closet. When we started planning the kitchen renovation, I pulled it out to see if any of the samples would go with our Mid-Century Modern Style. The Morning Dew shade was perfect for the color palette I was going with and the subway style is a classic look. I read a few blog posts and talked to one of my blogger friends at Weekend Craft to see how they were holding up and decided to go with this tile.
Prepping to install Aspect peel & stick tile:
We removed the existing tile from the back splash, although you can tile over some surfaces. We were left with a rough, grout covered wall that we needed to address. We discussed possible options to clad the wall, but found the post on Weekend Craft's blog where she used Masonite over her wall, so we also went with that option. We cut it to fit and screwed it into the wall using countersunk drywall screws. This gave us a clean, smooth surface to attach our tile.
Supplies needed to install Aspect peel & stick tile:
Aspect Peel & Stick Backsplash Kit (includes 15 boxes of Aspect tiles and four 24 in. Matte White Edge Trim pieces)
Small level
Measuring tapePainter's tape
Pencil/marker
Glass scorer or tile saw
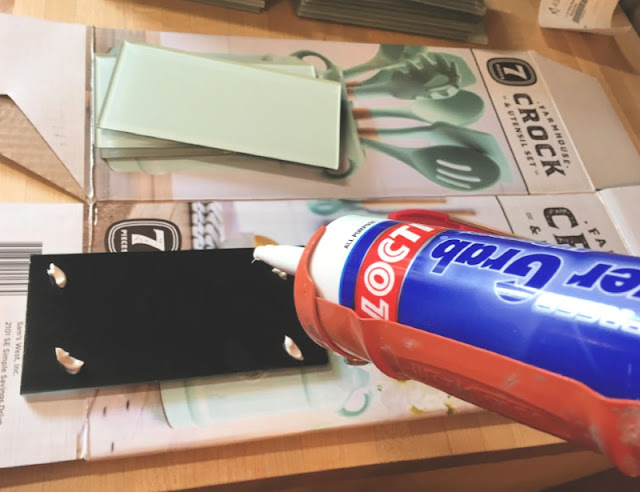
Loctite adhesive (optional)
Kitchen/Bath Caulk
Tips on installing Aspect peel & stick tile:
Before you begin, decide on and lay out your pattern. This helps you decide where to start tiling so you do not end up with an uneven layout. Once you have decided on your pattern, use a long level or a chalk line to draw your line for your first row of tile. Nothing in our house is level, so this step was crucial.

I used a tile saw to cut the tile because the reviews I read said that the glass scorer resulted in breakage some of the time and I did not want to waste any tile. I borrowed the saw from a friend, but you can rent them at the big box stores. Let me tell you...the tile saw is my new favorite tool! It cut like butter...even on the small cuts. To cut the tile, place a piece of painter's tape on the glass and mark the area with a pen or pencil, then cut it.
After I installed the tile, I added the edge trim pieces on the two outside edges. They come in white, but I spray painted mine to match the tile. Finally, I caulked around the top and bottom of the tile at he counter tops to seal it from water.
I think it looks amazing and cleans up nicely. I am already looking for other places I can use this in my house! Head over to my MCM Kitchen Reveal post to see more!
To learn more about the full product line from Aspect along with installation guides, product FAQs, images, and tips and tricks; head over to their ecommerce site, DIY Décor Store. Aspect products can also be purchased at Home Depot, Lowes and Menards in North America and Canada.


Their tile really does make projects so easy. I like not having to grout!!
ReplyDeleteYes, I am trying to find another place to use it!
Delete