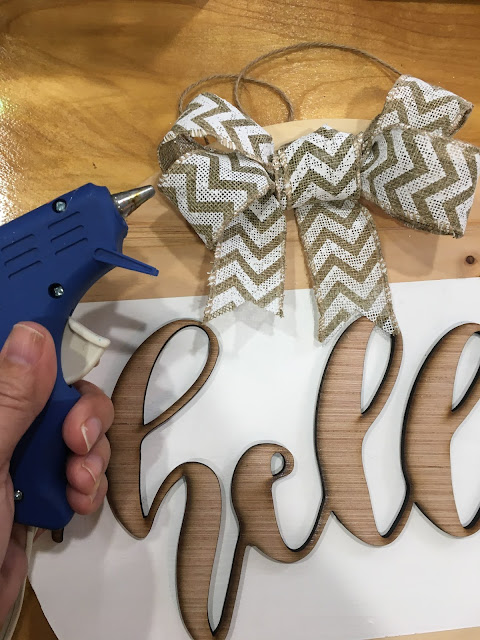
A few weeks back I visited a workshop called Mixxer Community Makerspace, and used the laser cutter to make a wooden "hello." You can read more about my experience HERE. I used the piece to make a wooden sign for my friend.
DIY Wooden Hello Sign
Here is what you need:
12" Wooden round
Wooden Word (can be purchased or handmade)
White Paint
Painters Tape
Super Glue
Ribbon/twine
Eye hooks
Hot glue gun/glue sticks
I started by creating my word in Cricut DesignSpace, saved it as an image, and imported it into the Autotracer software (which is what the Laser Cutter reads.)
I placed the piece of plywood in the laser cutter and let it go to work.
I decided on painting the middle part of the wood to contrast with the word, so I taped off the area where I wanted to paint.
I painted two coats of FolkArt white acrylic paint, allowing it to dry in between coats. Once dry, I removed the tape.
I used Super Glue to affix the hello to the painted part of my sign.


No comments:
Post a Comment
Please note that comments have been turned off. (Providing a name and email is not required to leave a comment on this website. If you choose to leave a name and email address, you agree with the storage and handling of your data by this website)
Note: Only a member of this blog may post a comment.