This is a sponsored conversation written by me on behalf of Cricut. The opinions and text are all mine. This post contains affiliate links for your convenience.
Supplies:
Shirt (pre-washed)
Iron
Selecting Your Project
Open up the Cricut Design Space and browse the projects. You can use the filter to narrow down your search if you have an idea of what you are looking for. I found the mermaid pillow and clicked on it.
Measure the area on your shirt to determine the size of your design. In this case, the size of the design for the Make it Now pillow project is perfect for my shirt, so I clicked the "Make It Now" button. You can always choose the "Customize" feature to resize the design to your desired size.
Cutting Your Project
Make sure you put the iron-on vinyl the correct way on the mat, liner side down. True story, my first attempt at this project was a huge FAIL! I cut the vinyl on the wrong side and ruined it. (I guess it pays to read directions sometimes) Make sure you put the clear plastic side face down on the cutting mat.
Set the dial on your Cricut machine to Iron On, then click the blinking "C" to GO.
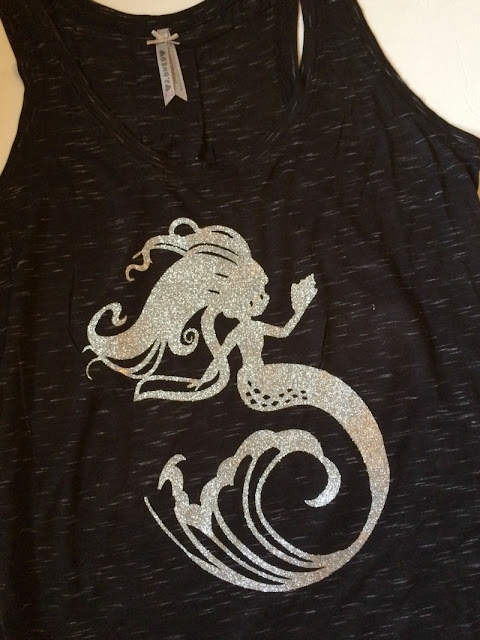
Carefully weed the excess vinyl from the mat with a weeding tool. You should be pulling away the "negative" vinyl, which is anything that is NOT part of the design. This design was pretty intricate, so the weeding tool was a big plus.
Peel the design, including the plastic liner from the mat and place onto the shirt, liner side up.
Peel the design, including the plastic liner from the mat and place onto the shirt, liner side up.
Applying the Iron-On to Your Shirt
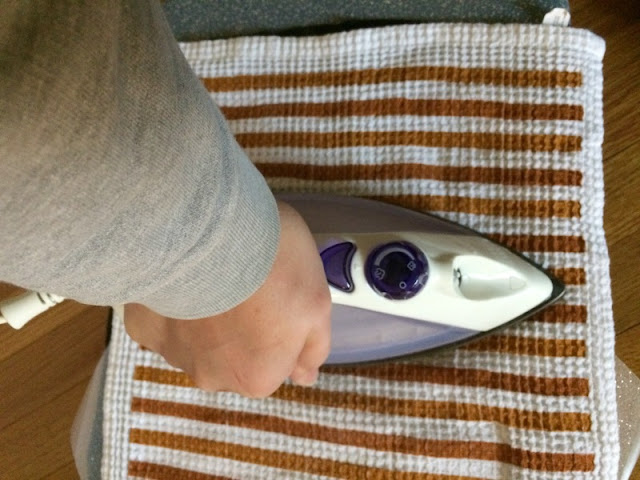
Set your iron to the correct heat temperature based on your shirt's material. Pre-heat the shirt by ironing the area (for about 15 seconds) where you will be placing the iron-on vinyl. Place a piece of cotton material or thin towel over the design to protect the iron-on.
This is important: Press the iron down on the vinyl for about 30 seconds per section. (not side to side, like you would iron) After you have applied the iron to the entire area, start to peel the liner from the vinyl and make sure the layers are attached. If not, repeat the process above. Note: It took me about 30 minutes of this process to get the glitter iron-on to adhere to my shirt.
The possibilities are endless with the Make It Now projects and the design work has already been done for you! You may also like the Iron on Starter Kit, that gives you four rolls of iron on material, a weeding tool, and a code for free design downloads.
Pin this for later!
Don't have a Cricut yet? What are you waiting for? Get yours today!

This is a sponsored conversation written by me on behalf of Cricut. The opinions and text are all mine.


Your circuit posts are some of my absolute fave! My daughter is really into mermaids, I should think about doing something like this for her for the summer. :)
ReplyDeleteCarrie
curlycraftymom.com
Aww thank you! That means so much! There are so many mermaid patterns out there, that I bet you can find one for your Sillouette!
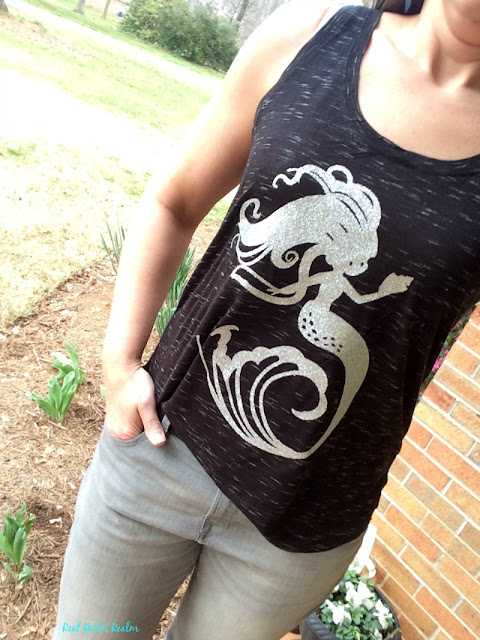
DeleteOh. Em. Gee. I LOVE this shirt. I can't believe you made it - you inspire me to do more things in life! But alas, I probably won't (maybe). I think it's so neat that you can tell people you made the shirt you're wearing :) Before you I had no clue what a Cricut was! Now you are rock these posts!!
ReplyDeleteHa! You are too funny and so kind! I need to make some more cute shirts!
DeleteThat top is so darn cute! And I love that you made it yourself! I really need to get one of those Cricuts!
ReplyDeleteJill
Doused In Pink
Thank you! I never imagined I would use the Cricut as much as I do!
DeleteThis is just so, so cute! I have loved seeing all of the projects you make with your Cricut. It makes me think I need one. :) Thanks for linking up, Mary!
ReplyDeleteThanks Jennie! You would definitely get your money's worth out of the Cricut! I can do everything!
DeleteSuch a cute shirt! I am glad that the mermaid came out better this time.
ReplyDeleteThanks! Me Too! Though I bet you can spot my boo-boo :-)
DeleteI am a newbie,,, I went to cut a t shirt vinyl yesterday and it did not cut the whole way through the vinyl, do I need to put in a heavier blade? ( I just got my cricut air 2 for my birthday and just got it out of box yesterday and set it up) I'm making baby t shirts for my new grandbaby,,,, help please!!!!!
ReplyDeleteYou can use the deep cut blade, though I have never had to. I have seen people suggest cutting the mat again on the glitter vinyl. Instead of removing the mat, just push the "C" button on the machine again. I hope this helps!
DeleteI have followed the instructions, but my blade doesn't seem to cut the iron on. please help.
ReplyDeleteHi Karen! Make sure your blade is new and not dull or you can use the deep cut blade, though I have never had to. I have seen people suggest cutting the mat again on the glitter vinyl. Instead of removing the mat, just push the "C" button on the machine again. I hope this helps!
Delete