Do you have shelves or cabinets that are an eyesore, but need the practical storage they provide? Do not get rid of them just yet. With a little elbow grease and some paint, you can make them good as new!
As part of our basement renovation, we are reclaiming space in the garage/workshop area. We are re-arranging the layout and have built storage shelves for plastic storage bins and a workbench for the chop saw, using the cabinets removed from the kitchenette. During the garage demolition, we removed two old metal cabinets that were not very functional and in the way of where we were putting the workbench.
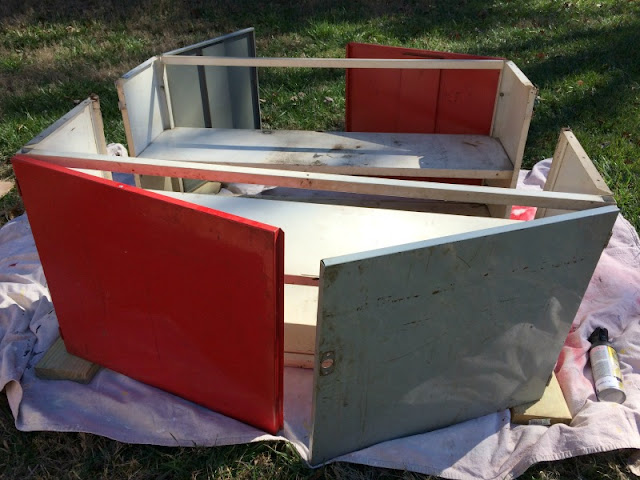
They were side-by-side metal cabinets that came out of an old gas station and they were beat up and rusted. Instead of taking them to the dump, my husband decided that he could use them to store the car and yard chemicals in. The plan was to stack them on top of each other about 3 feet off the ground so we could still have storage underneath them for the push mower.
The metal cabinets had ugly two-toned red/gray doors, with rusty handles and was also rusted on the inside. If we were going to re-use the cabinets, they needed to be cleaned up and painted. Since they were going to be used to hold chemicals, I did not spend time sanding the rust off. If you are going to paint something nice, like metal patio furniture, then you would want to sand the rust off to get a clean surface to paint.
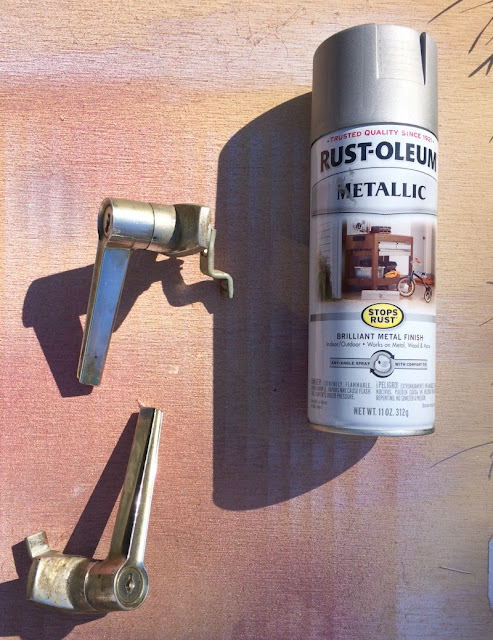
I removed the handles so I could paint those too. I used Rust-Oleum Metallic Silver paint, which I have used on other projects, like our front door hardware and hinges on the china hutch. I just laid them on a board and painted one side. Once dry, I flipped them over and sprayed the other side. I then used a clear coat to seal the paint.
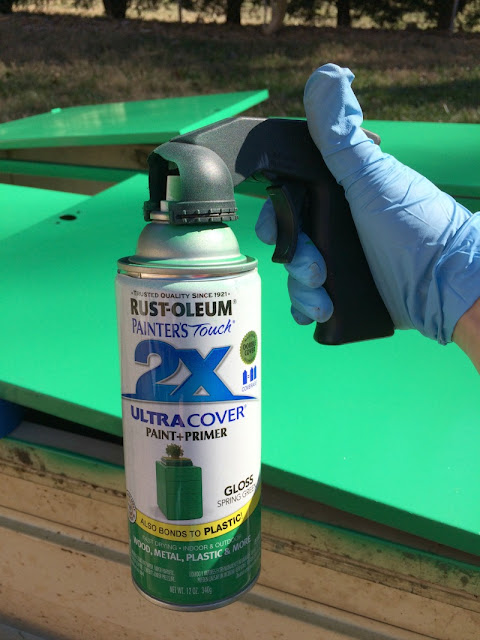
I made my husband pick the color from my spray paint stash, so we didn't have to spend money and he picked a Gloss Spring Green for the doors and Oil Rubbed Bronze for the rest of the cabinet. Oh, if you do not have one of these paint triggers, you NEED one! I bought it several years ago when I painted our patio furniture and it has saved my finger a million times. It was the best $5 I ever spent!
Make sure you pick a spot away from the house to paint and wear a protective mask to prevent you from breathing in the paint fumes. I sprayed the doors first, because the Oil Rubbed Bronze would cover any over spray from the green. One coat actually covered the red and gray very well, so I did not need a second coat. Once dry, I slid a couple of trash bags over the doors to protect them, while I sprayed the sides and interior of the cabinets.
I only needed one coat of the Oil Rubbed Bronze, because the coverage was even. I would have done two coats if it was going to be left outside, just to give it extra protection, like I did on my metal patio furniture.
Once the metal cabinets were dry, my husband put the handles back on and we hung them on the wall and filled them up!
Do you have a storage piece that could use an update?
You may also like these upcycled projects:
Updating Iron Patio Furniture


What a smart idea to do the green before the bronze! So clever! I love how these turned out! It's so hard to make things like this look good and you nailed it!
ReplyDeleteI literally just found one of those paint spray can handle thingys in the basement and threw it away. I KNEW as soon as I tossed it, I'd regret it and YUP I sure did. THIS is why I am a hoarder of the most random things lol
Thank you Erin! Girl, I bought this years ago when I painted my patio furniture, and it is the best invention ever! I don't know how I lived without it!
Delete