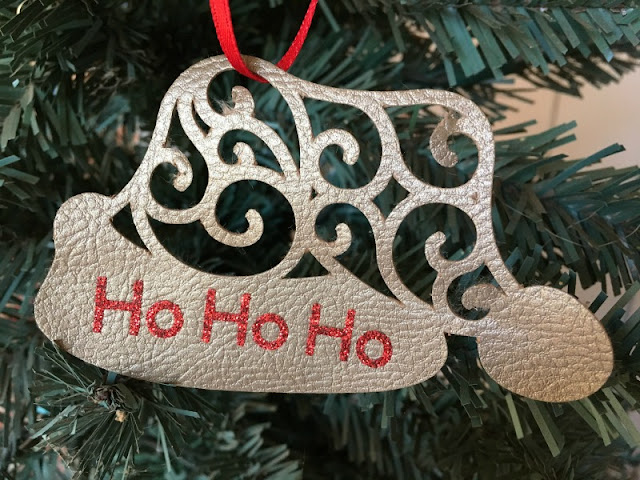
Today, I am using my Cricut to make a Santa hat ornament using faux leather and glitter vinyl for an Ornament Exchange I am participating in with some of my Cricut blogger friends!
Supplies needed for a Faux Leather Santa Hat Ornament
This post contains affiliate links, which means I receive a small financial compensation if you make a purchase using this link. Thank you for supporting Real Girl's Realm!
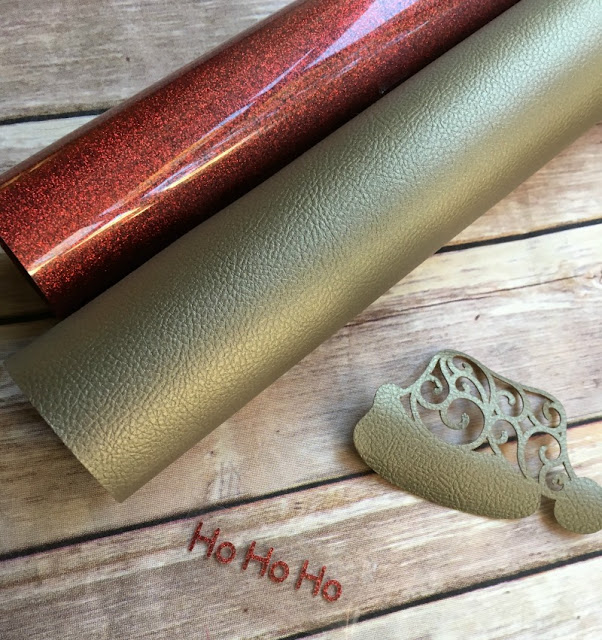
Cricut Explore Air
Faux leather
Strong grip cutting mat
Iron on glitter vinyl
Medium grip cutting mat
Piece of ribbon (for hanging)
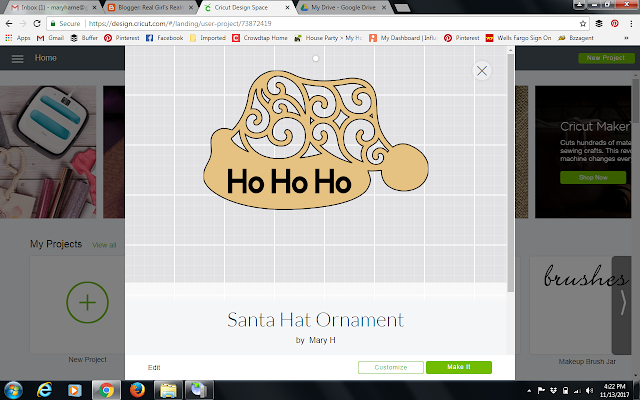
I searched the Cricut Design Space to find a free pattern for a Santa Hat. I chose this one with a pretty cut out design. I removed the pieces I did not need from the design to leave me with one piece to be cut.
I then added the text "Ho Ho Ho" sized to fit on the "fur" part of the Santa hat. I made the text a different color so I could cut the material on two different mats. Since the glitter vinyl is to be ironed onto the faux leather, check to make sure the Mirror feature is turned on.
Make sure you use the strong grip mat with the faux leather because I have found it tends to slip around while cutting. The Design space makes it super easy to separate your project into different mats and materials in the same project. Just follow the instructions on the screen to switch out the mats.
After the faux leather was cut, I removed the extra leather from the design while waiting for my glitter vinyl to be cut.
Tip: if you use the "Custom setting" on the dial then select "glitter vinyl" in the design space, I think it cuts a lot better. In the past, I had just used the "Iron on" setting and sometimes the cut did not go all the way through, since the glitter iron on vinyl is a little thicker.
Once my glitter iron on vinyl cut was complete, I weeded the excess vinyl from the design and placed it, liner side up, on the faux leather Santa hat. Cover the ornament with a hand towel and use an iron to apply steady pressure for about 20-30 seconds to the iron on. Once the transfer has set, gently remove the liner. Add a red ribbon for hanging the ornament.
This turned out so much better than I expected and I want to make several more! Leave me a comment and tell me what ornament design you would make!
For more DIY ornament inspiration using your Cricut, check out my friends' projects below!
Disclosure: I am part of the Cricut Blogger Program and may receive supplies to complete my projects, but all thoughts are 100% my own. I love my Cricut and am excited to share my projects with you!


what a great santa hat file you found!
ReplyDeleteYes! I lucked out!
DeleteIt turned out so pretty! Isn't the faux leather great?!
ReplyDeleteThanks! Yes, It is so versatile!
DeleteOh, how cute! I love your Cricut projects (even tho I have a Silhouette). I have not tried faux leather yet, I need to do that. These would make great gifts!
ReplyDeleteCarrie
curlycraftymom.com
You should try it! I am going to make some more for gifts!
DeleteI love it! I haven't tried the faux leather yet, but I need to go get some :)
ReplyDeleteThe faux leather is great to work with!
DeleteThere is something very special about homemade ornaments. I was lucky that growing up my crafty Aunt made us new ones each year. At the time, i was not sentimental about them, until I grew up into an adult with my own family, and had my own tree! Now we carry that tradition on :) ...I love yours. It looks so shiny!
ReplyDeleteI had ones that my Aunt's and grandmothers made but I only recently realized how special they are! Now my tree is filled with handmade ornaments from my family, my son, and craft fairs.
DeleteIt’s so cute - thank you so much for sending this to me!
ReplyDeleteThanks! I hope you enjoy it!
Delete