This post contains affiliate links for your convenience, which means I receive a small financial compensation if you make a purchase using this link. You can read more about affiliate links here.
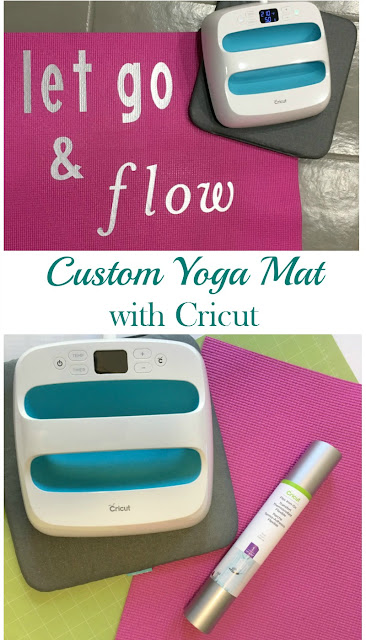
I have been wanting to try the EasyPress for a while, so I was excited to receive one, along with an EasyPress mat as part of the Cricut blogger program.
Some of the features of the EasyPress are:
- 9x9 Base that covers most projects
- Iron-on results in 60 seconds or less
- Adjustable heat up to 350 degrees (along with a handy chart that shows correct times and temps for any project)
- Insulated resting base and automated shut off
- Lightweight and easy to store
- Timer that beeps when finished
To begin your yoga mat project, you will need the following supplies:
Cricut Explore Air (or similar machine)
Yoga mat (I used the backside of one I already had)
Standard Grip Cutting Mat
Open the Design Space and create the design for your mat. Since I am training to become a Body Flow instructor, I chose "let go & flow." You can find this design here.
Prepare for your cut by selecting Custom on the machine and SportFlex option under the Iron on materials. Don't forget to Mirror your cut since it is an Iron on design. Weed the excess vinyl from your design and place it on the yoga mat. I cut my quote into three pieces so I could offset the words on my mat.
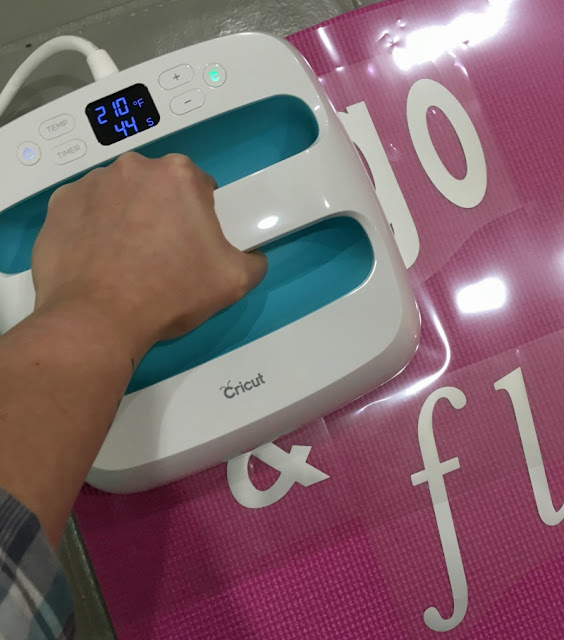
Turn on your Cricut EasyPress and set the temperature to 210 degrees by pressing the Temp button along with the "+" sign. I am using lower than the recommended SportFlex temperature of 350 degrees so I do not run the risk of melting the yoga mat. Place the vinyl face down on your mat. I took Kristen's advice and placed the piece of plastic from one of my cutting mats over the vinyl for an extra layer of protection.
Set the timer for 50 seconds by pressing the Timer button and the "+" or "-" signs. Slowly move the EasyPress over the design until the beep sounds. Because of the yoga mat material, you do not want to leave the EasyPress in one spot and melt the mat. Carefully peel the liner back to see if the vinyl has adhered. If not, repeat the process for 30 more seconds. Remove the liner while the mat and vinyl is still warm.
You will be the envy of everyone in your yoga class with your custom mat! What quote would you put on yours? If you like the tank pictured below, you can find the tutorial for how I made it HERE.
Pin Me for Later!
Disclosure: I am part of the Cricut Blogger Program and may receive supplies to complete my projects, but all thoughts are 100% my own. I love my Cricut and am excited to share my projects with you!


This is soooo cool. I am really amazed! You've come up with some creative ideas with your Circuit. I need a new yoga mat so bad, I should do something like this when I get a new one.
ReplyDeleteCarrie
curlycraftymom.com
I was surprised by how well it worked and is holding up! You should do this!
DeleteI'm interested to hear how this holds up over time and use.
ReplyDeleteI use it on an average of 4 times a week, and only the "W" in flow has popped up, but I just used my EasyPress to make it adhere again and it has been perfect ever since!
DeleteReally wonderful and nice blog.
ReplyDeleteThanks for sharing.Customize Mats
So cool, it can print text and image into yoga mat and shirt.
ReplyDeleteIt does not print on the materials. It just cuts the vinyl for the iron on transfer.
DeleteThis one is cool !
ReplyDeleteThank you!
Delete