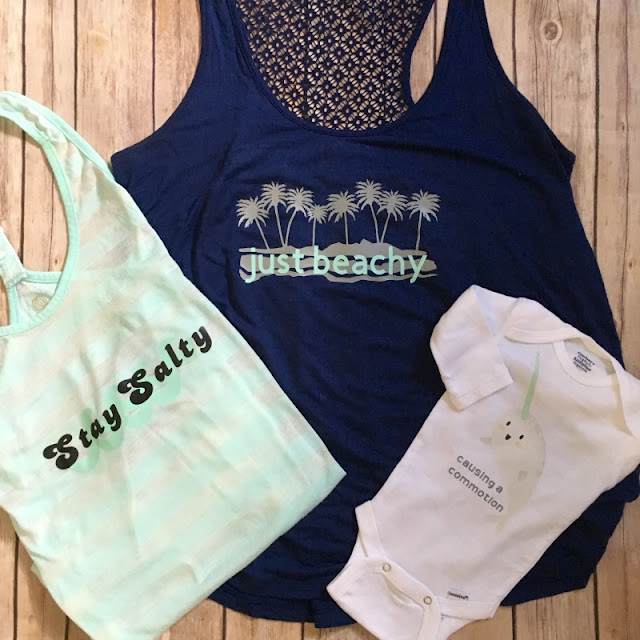
I love the beach and look forward to our family vacation every summer. Since I am headed to the beach in a couple of weeks, I got to work adding a beachy saying to a couple of my plain tank tops and while I was at it, I made a cute beach themed onesie for a friend!
This post contains affiliate links for your convenience, which means I receive a small financial compensation if you make a purchase using this link. You can read more about affiliate links here.
Supplies needed for DIY beach themed tops:
Cricut Explore AirCricut EasyPress
Iron on vinyl (multiple colors)
Cricut Iron-On Designs
Standard grip mat
Tank tops and/or Onesie
For the onesie, I started with a ready made iron-on you can purchase from Cricut. Head to my Ocean Themed Baby Onesie Post to see the full tutorial. Once you have ironed on the design, you are ready to get to work adding the text. Open up the Cricut Design Sapce Software and create your design using text and images, or you can use my ready made project by clicking on the links below.
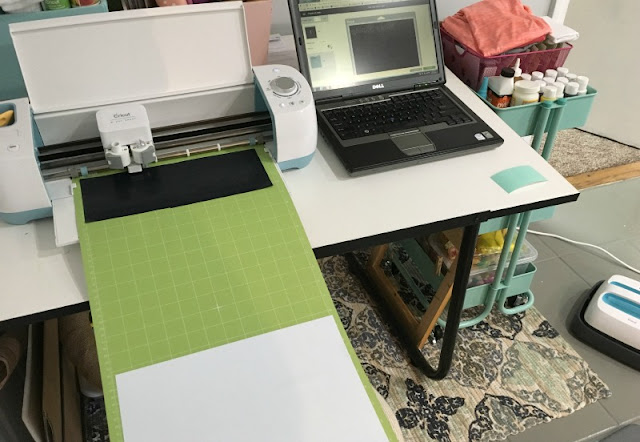
Place your vinyl on the mat shiny side down and select the mirror option since it is an iron - on design. Set the dial on the machine to vinyl, or custom if you are using one of the special types of vinyl, such as SportFlex, Patterned, or Glitter. If you selected the custom option, choose the appropriate type in the software. I am using the SportFlex, since it stretches.
Preheat your iron or EasyPress to the correct temperature based on the material. Weed the excess vinyl from your text and place the liner face down on the onesie. I placed a liner over the iron - on design to protect it from the heat while adhering the vinyl text.
Repeat the above process for the "Just Beachy" shirt. If you have two mats as I do, change out the mat after the first cut and let the second mat cut. Once both cuts are complete, use a weeding tool to remove the excess vinyl from both designs.
Apply the palm tree design first. If you are using the EasyPress, it takes less than a minute! Carefully remove the liner, making sure the design is adhered well. Place the text on top of the palm tree design. I placed a piece of plastic (the cover from my cutting mat) over the entire design to protect the palm trees prior to adding the heat. Remove the liner from the text once it is adhered well and pair your new tank with shorts and sandals for a day at the beach!
For the "Stay Salty" shirt, I used a long mat and put the pieces of vinyl on either side, so I just have to flip the mat over and reload it. Weed the excess vinyl from the design. Follow the steps above to layer the iron-on vinyl image and text.
I love the retro-looking font with the waves that coordinate with the color of the tank top. The sheerness of the top makes it a cute cover-up for your swimsuit!
Disclaimer: Comments submitted may be displayed on other websites owned by the sponsoring brand.
This is a sponsored conversation written by me on behalf of Cricut. The opinions and text are all mine.


That narwhal gets me every time. Too cute!
ReplyDeleteCute, cute, cute! I love the striped Stay Salty tank!
ReplyDeleteCarrie
curlycraftymom.com
SO cute! Do you go to the same place every year? I love the mint green you picked out.
ReplyDeleteAll of these are so cute! So fun for your beach vacation!
ReplyDeleteJill
Doused in Pink