You can read more about affiliate links here.
I have been busy this summer making custom shirts and baby onesies, using my handy dandy EasyPress. So, imagine my excitement when I learned Cricut was coming out with THREE new sizes: 6x7, 9x9, and 12x10. I immediately knew I wanted to try the smaller 6x7 EasyPress 2, since it is the perfect size for baby onesies.
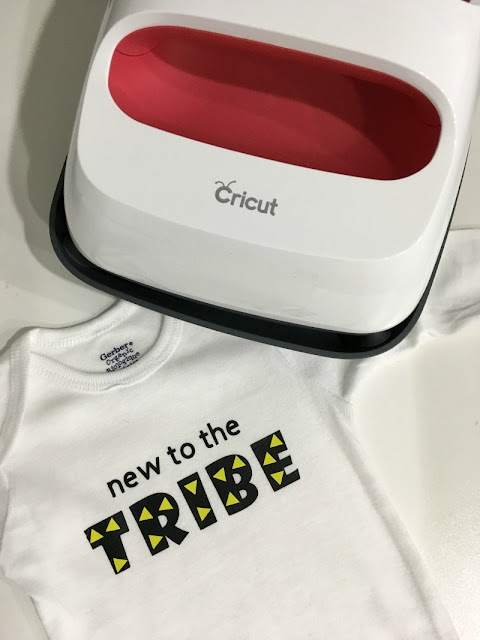
Since I had a baby shower coming up for one of my friends, I got to work designing the quote "new to the tribe," which is a reference to being Les Mills instructors. Small projects like this are a great way to use up vinyl scraps that I know you have on hand.
Supplies for custom baby onesie
Cricut Machine - I am using the Cricut Maker
Cricut MediumGrip Cutting Mat
Cricut SportFlex Iron-on Vinyl - I am using 2 colors
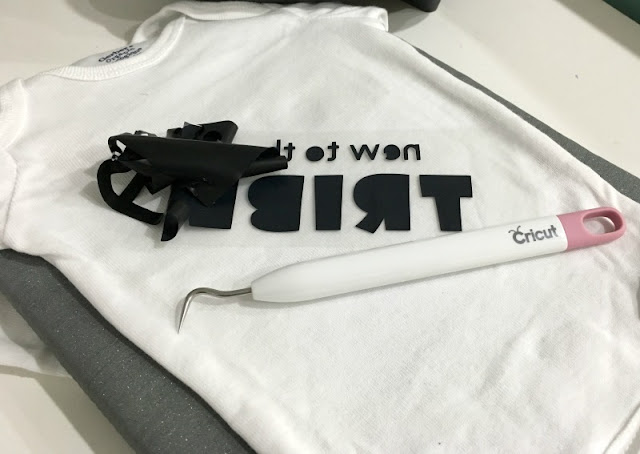
Cricut Weeding Tool
Cricut EasyPress 2
Cricut EasyPress 2 Mat
Baby Onesie
Open up Cricut Design Space and create a New Project, or you can click the link below to use my design:
I wanted to make something a little different, so I am layering the vinyl to create a triangle pattern on the word "TRIBE." Don't forget to "Mirror" your project before cutting and select your material from the screen. I am using the new Cricut Maker, which does not have the material dial on the machine. Place your iron on vinyl "shiny-side" down on the mat.
I am using the SportFlex vinyl, which is my new favorite material, since it stretches with the fabric and holds up well through multiple washings (I have used it on many of my yoga tank tops as well as my yoga mat.) It also has Cricut’s StrongBond™ Guarantee, which means that when this iron-on material is used as directed, you’ll be completely satisfied with the results. If not, Cricut will replace it for free.
I am using the SportFlex vinyl, which is my new favorite material, since it stretches with the fabric and holds up well through multiple washings (I have used it on many of my yoga tank tops as well as my yoga mat.) It also has Cricut’s StrongBond™ Guarantee, which means that when this iron-on material is used as directed, you’ll be completely satisfied with the results. If not, Cricut will replace it for free.
Once you have followed the instructions on the screen to cut the two mats, weed the excess vinyl from the design.
I prefer the EasyPress2 over an iron because of the fast heat up time and precise temperature control and timer that allows you to achieve professional results in less than 60 seconds. I also like that it has an insulated safety base to rest in, which protects your crafting surface.
Preheat the EasyPress 2 to the appropriate temperature for your fabric and apply heat to the area where you will be ironing the design. Position the design with the liner side up on your fabric. Apply even pressure to the design with the EasyPress 2, until the timer beeps. Repeat for any additional layers.
NOTE: To protect the exposed layer of iron, on, I use the piece of plastic that covers my cutting mat as a barrier between my design and the EasyPress 2 when applying the second layer.
Flip the onesie over and press the backside to help the iron on vinyl adhere better. Flip it back over and gently pull back the liner, making sure the vinyl is adhered well. If it is not, repeat the above process. How adorable is this custom onesie that only took a few minutes to make?! Which size of EasyPress 2 would you use the most?
PIN ME for Later!
Comments submitted may be displayed on other websites owned by the sponsoring brand.
This is a sponsored conversation written by me on behalf of Cricut. The opinions and text are all mine.


Such a cute baby gift idea! I always like making baby gifts!
ReplyDeleteI love making personalized gifts too, and it is so easy with the Cricut!
Delete