After looking on Pinterest for inspiration, I ended up on this simple design using a common 1" x 8" board and square molding.
Supplies Needed for Scrap Wood Hat Rack
1" x 8" board cut to length
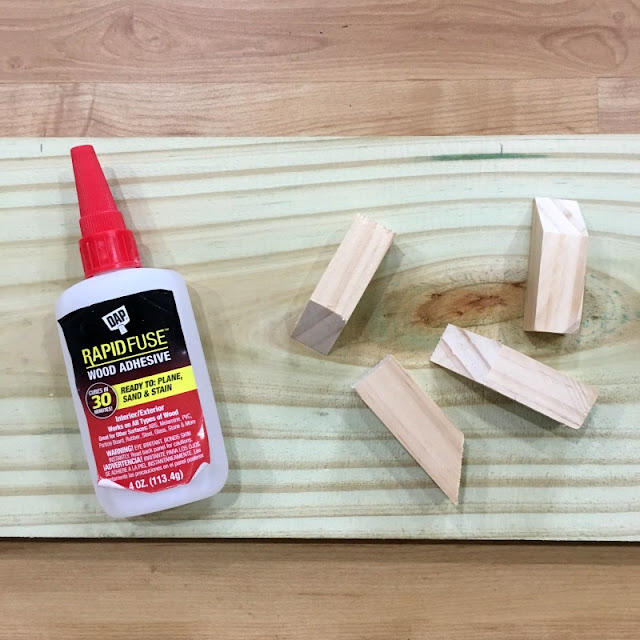
1 piece of square molding
Rapid Fuse wood adhesive
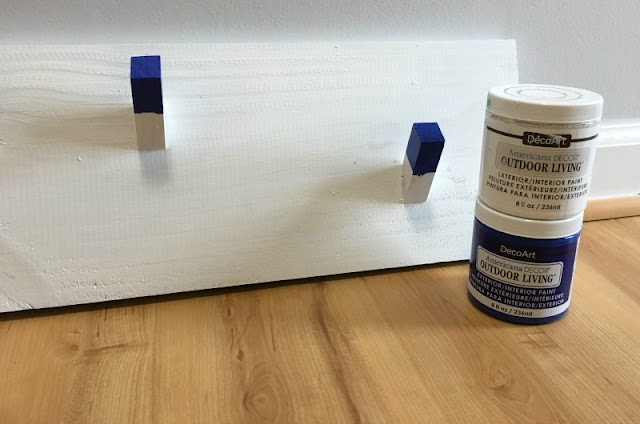
Paint (I used Deco Art Outdoor in White and Blue)
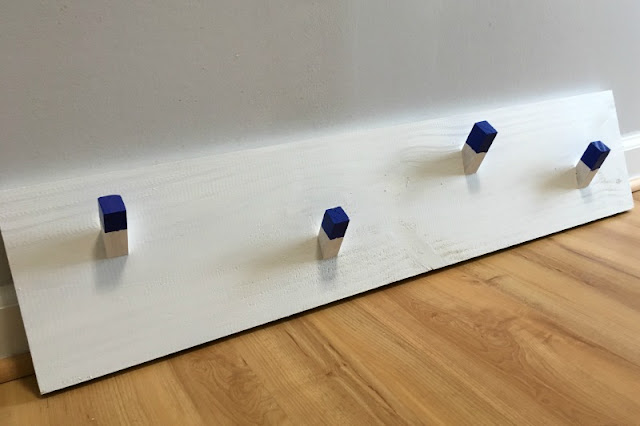
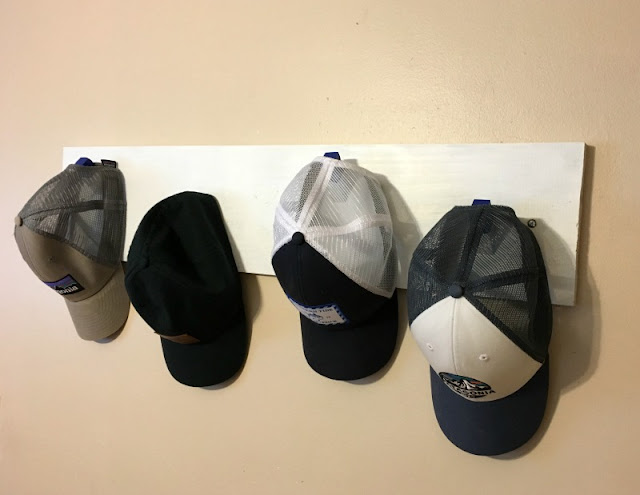
I laid the baseball caps out on my board to determine how many hooks I needed to cut and four worked best. I also used a pencil to mark where I wanted the hooks to go. After cutting the molding pieces with the chop saw, using a 45 degree angle, I glued them onto the board. Yep, just glue...no nails! I offset the hooks to add a little more interest to the piece.
I painted two coats of white onto the board, letting dry in between coats. The white was a little too plain, so I decided to add a pop of color on the ends of the hooks. My son is a Duke fan and his room is a red, white, and blue theme, so I decided to go with a Duke blue color that I had on hand.
I taped off the bottom half of the hooks and painted the top half with two coats, letting it dry in between.
This was one of the easiest projects I have ever done and I did not spend a dime! Sometimes it pays to be a hoarder of paint and wood scraps.
I simply hung it by using wall anchors/screws, but you could also use a french cleat or picture hangers, which would be hidden on the back.
Pin Me for Later!


Love this, Mary! Isn't is great when you spend $0 on a project?
ReplyDeleteCarrie
curlycraftymom.com
Thank you! Yes, it is always a bonus to use supplies I have on hand!
Delete