This post contains affiliate links for your convenience, which means I receive a small financial compensation if you make a purchase using this link. You can read more about affiliate links here.
Supplies needed for Farm Fresh sign:
Cricut Maker (or Explore machine)
Cricut MediumGrip Mat
Vinyl
Transfer Tape
Scraper Tool
Wooden Board
Stain (I used Varathane Stain in Dark Walnut)
Paint (I used PlaidCrafts French Vanilla)
Farm Fresh Design
I started by staining the board with a Dark Walnut wood stain, wiping off the excess, and letting it dry thoroughly.
I designed the Farm Fresh with the veggies in Cricut's DesignSpace software. You can use my design HERE or you can make your own. I used a piece of regular vinyl, but you could also use Stencil vinyl so you don't waste the "good stuff." Once you have cut the design, following the directions on your screen, unload the mat and "reverse weed" your design. I say "reverse weed" because you are going to remove the vinyl from the letters to make your stencil.
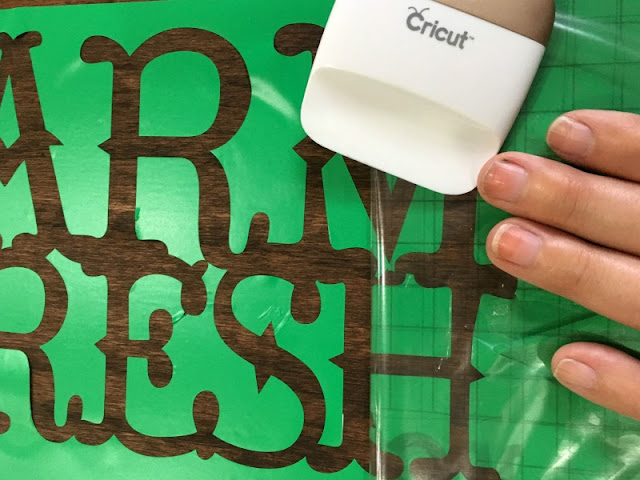
I used transfer tape to help me position the design evenly on the board and used the scraper tool to remove any bubbles/wrinkles. To keep the paint from bleeding under the stencil, I applied a thin coat of Mod Podge and let it dry prior to painting.
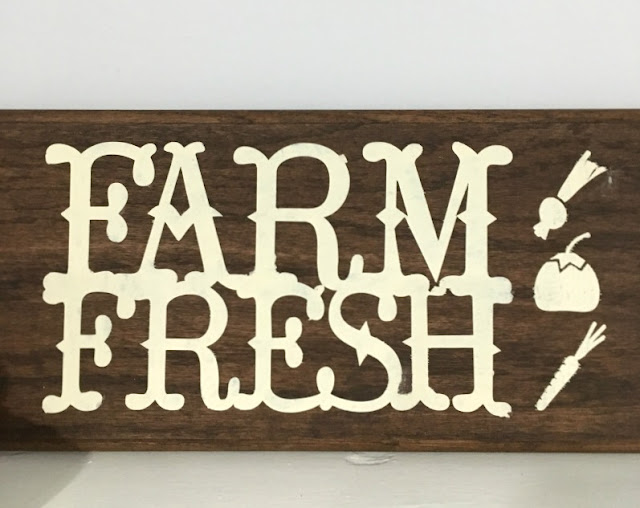
I used a foam brush to paint two light coats on the board, letting them dry in between. Once the paint is mostly dry, carefully remove the vinyl to reveal your farmhouse sign! You could also lightly sand the board for more of a rustic look. What would your farmhouse style sign say?
Pin Me for Later!
Disclosure: I am part of the Cricut Blogger Program and may receive supplies to complete my projects, but all thoughts are 100% my own. I love my Cricut and am excited to share my projects with you!


No comments:
Post a Comment
Please note that comments have been turned off. (Providing a name and email is not required to leave a comment on this website. If you choose to leave a name and email address, you agree with the storage and handling of your data by this website)
Note: Only a member of this blog may post a comment.