Rust-Oleum provided the kit for this project, but all opinions are my own.
If you are just joining me, I am a guest participant in the One Room Challenge hosted by Linda at Calling It Home. We are in week 4 and I am finally panting our cabinets. I am using Rust-Oleum Cabinet Transformation kit which comes with all the supplies needed to update your cabinets. I am always for products that make my DIY life easy and this kit comes with almost everything you need.
It is easy as 1-2-3...Clean, Paint, Seal!
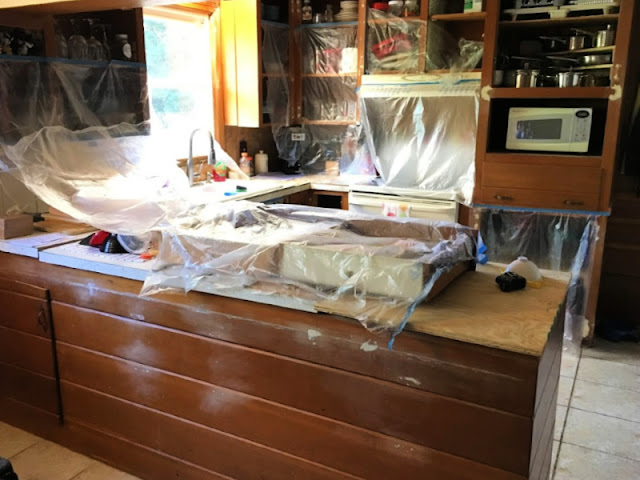
To refresh your memory, here was the state of our kitchen last week being prepped for paint.
Supplies Needed for Painting Wood Cabinets:
Rust-Oleum Cabinet Transformations kit(s) (I used Seaside)
2" synthetic paint brushes
Small foam roller
Painter's tape
Drop cloth
Disposable gloves
Lint-free rags
Disposable paint containers
Screwdriver
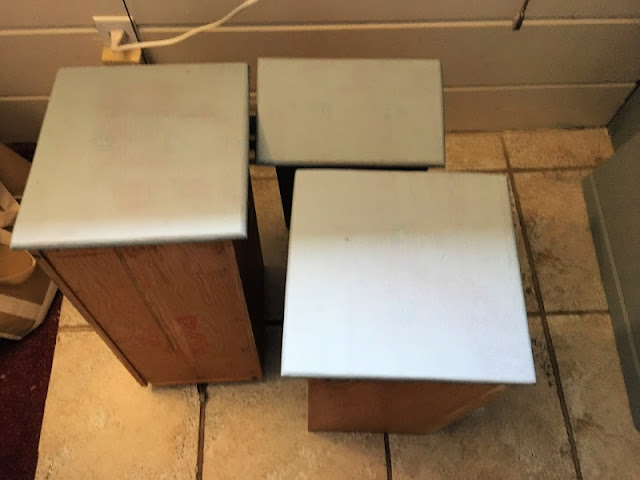
Start by removing the cabinet doors, drawers, and hardware/hinges. Use a sketch pad or painters tape to create a system of numbering for the cabinets so you get the doors and drawers put back on the right frame. This is super important if your home is old like ours. While measuring the cabinet doors, we discovered they were all off by about 1/8-1/4" from each other. I put a numbered piece of tape on the back of the door and inside the cabinet.
Lay the cabinet doors and drawers on a flat surface to achieve the best results, such as in a garage or on a work table. Also, make sure the work space has good ventilation, away from dirt, dust, and the wind. Fill any cracks or holes with wood putty, allow to dry, and sand smooth before you begin to paint.
Prepare your cabinet frames, drawers, and doors by using the Deglosser provided in the kit. This removes grease and dirt and eliminates the need for sanding and priming. Using gloves and a scrub pad, follow the directions in the kit to clean and dry all surfaces to be painted (cabinet frames, doors, and drawers.) Wipe with a clean dry cloth, (a roll is provided in the kit) then dry thoroughly. You will go through a ton of rags, especially if your cabinets have not been de-greased in 10 years (like mine!)
Once the cabinets are completely dry, it is time to paint with the Bond Coat. Use a drop cloth to protect your floors and painters tape to tape off any areas you do not want to paint. I only taped off the floor, mostly because I am a lazy painter, but also because the small angled Wooster brush works great for cutting in.
Once the paint is completely dry, apply the Protective Top Coat and let dry for up to 24 hours before full use. The top coat takes about 7-10 days to cure, so just be careful using them for the first week.
After
My husband is working on making new cabinet doors, so I will need to paint those when he is finished, but the kitchen looks so much cleaner and brighter already! Come back next week to see the kitchen start to come together. We are in the home stretch!


SUCH A GREAT TUTORIAL I KNOW SO MANY PEOPLE THAT WANT TO DO THIS IN THEIR KITCHENS. VERY USEFUL INFORMATION.
ReplyDeleteThank you! It was easier than I thought it would be. I wish I would not have put it off for so long!
DeleteLove the color choice!
ReplyDeleteThanks! Me too!
DeleteThe new color is gorgeous!!
ReplyDeleteThank you! It is so much brighter and clean!
DeleteGreat tips! Beautiful results on the way!!
ReplyDeleteThank you! It looks so much better already! My husband said he is even getting used to the open shelves (We are putting doors back up though LOL)
DeleteYou're saving so much money by repainting your cabinets. Nice job, Mary! I can't wait to see the space all done. Love the paint color you chose!
ReplyDeleteThank you! They are sturdy and in pretty good condition so it made sense for the budget! The color really brightens up the space!
DeleteI like the color that you guys picked out!
ReplyDeleteThank you! I like it too!
Delete