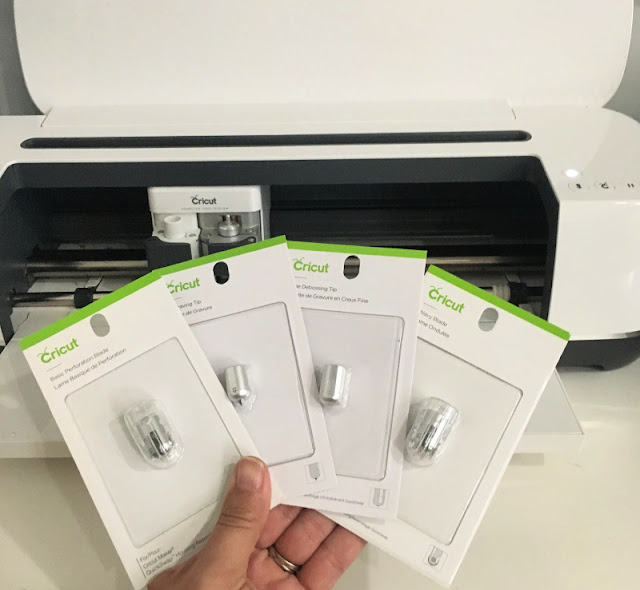
Just when you thought the Cricut Maker could not get even more awesome, Cricut releases four new tips! When Cricut launched Maker 2 years ago, it made a promise to come out with more tools and materials, so that Maker could grow with creators as they master new crafts. These tools can be used only with the Maker, because it was specially designed with an Adaptive Tool System. This system brings together three major technologies that give Maker professional class cutting versatility and performance.
This post contains affiliate links for your convenience, which means I receive a small financial compensation if you make a purchase using this link. You can read more about affiliate links here.
Some of the features of the Maker are:
- Delivers 10 times (4 kg) or more cutting force than the Explore line
- Uses a sophisticated steering system to actively control the direction of the blade at all times
- Tests to be sure you are using the correct blade before it starts cutting, and tells you to change it, if not.
Here is a Quick Rundown of the New Tools:
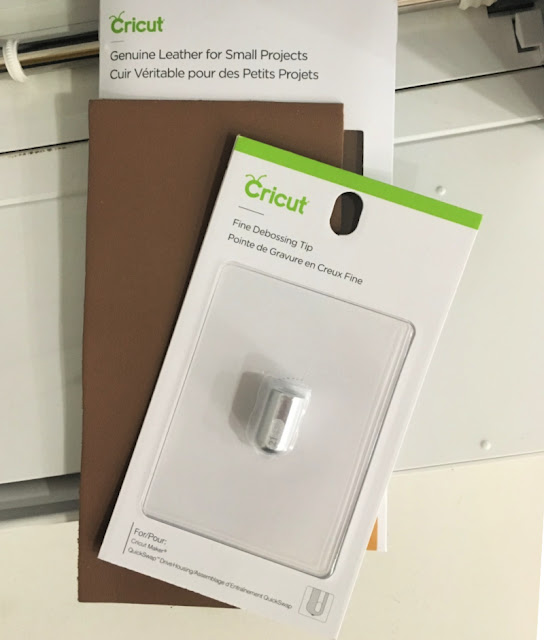
Fine Debossing Tip - Add professional polish and elevated elegance to paper crafts by creating crisp, detailed debossed designs. This rolling debossing ball, with a wider range of motion, gives you free reign to customize, personalize, and design with incredible intricacy. Create a stunning effect on foil cardstock, coated paper, shimmer and glitter paper, basswood, and more.
Engraving Tip – Write personalized text or create monograms, draw decorative flourishes and embellishments, or inscribe your favorite quotes on a keepsake. For an eye-catching effect, engrave Cricut Metal Sheets or anodized aluminum to reveal the silver beneath.
Basic Perforation Blade - Get the perfect tear quickly and effortlessly with precise perforation cuts for a wide variety of projects. This tip creates uniform, evenly spaced perforation lines allow for clean, well-spaced tearing without the need to fold beforehand. It is perfect for tear-out booklet pages, raffle tickets, homemade journals, or for any project that demands a neat tear.
Wavy Blade - Get a decorative edge in half the time than a drag blade with a gentle wave cut for a wide variety of projects. To add a wavy edge to any design, this specially sculpted stainless steel blade is great for original vinyl decals, iron-on designs, envelopes, cards, gift tags, collage projects, or any time you need finished edges and stylish design accents. It is perfect for iron-on, vinyl, paper, cardstock, fabric, and more.
What Can You Make with the New Maker Tools?
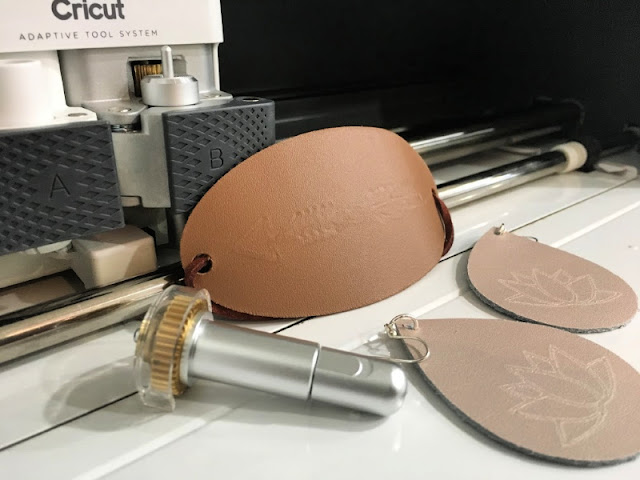
The leather earrings I made a few years ago is still one of my most popular posts, so I thought I would show you how to take your leather jewelry to the next level by using the engraving and debossing tips.
Supplies needed for Leather Bracelet and Earrings
Cricut MakerCricut Engraving tip
Cricut Debossing tip
Cricut Deep Cut Blade
StrongGrip Mat
Cricut Genuine Leather for Small Projects
Earring findings
Leather Cord
Cricut Design Space Project - Feather Leather Bracelet
Cricut Design Space Project - Lotus Leather Earrings
Making the Leather Bracelet
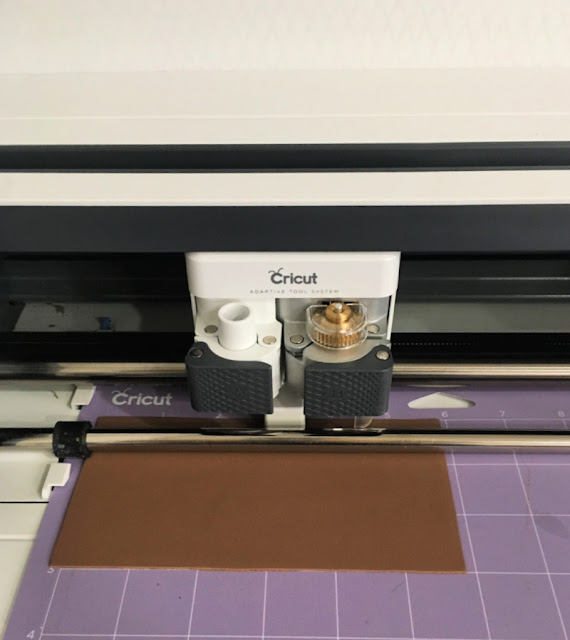
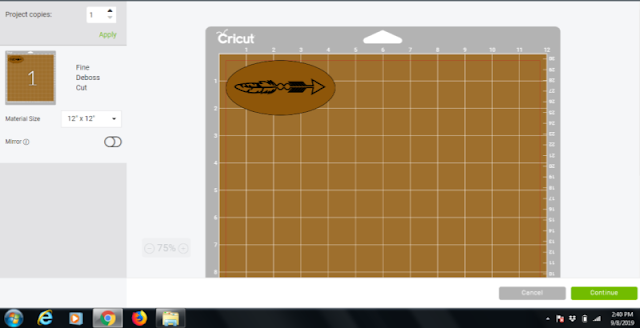
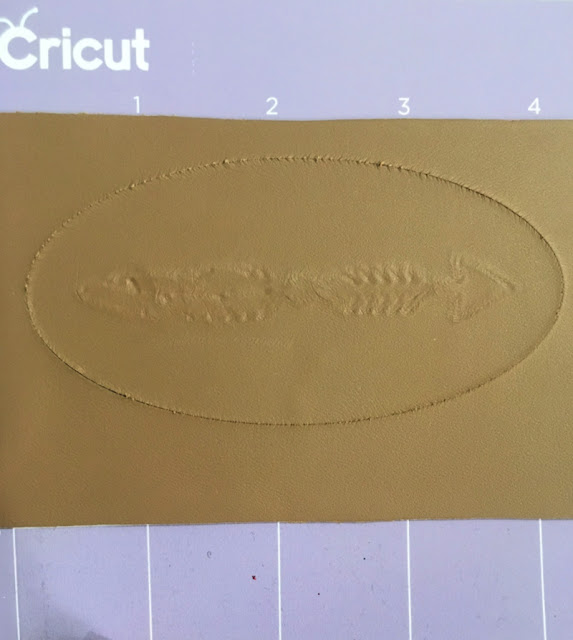
I am using the new Cricut leather in small sheets, which are perfect for jewelry making and they come in several colors! Start by opening my project (linked above) in Cricut Design Space or create your own. Note, under the "Linetype" I have selected the drop down for Fine Deboss.
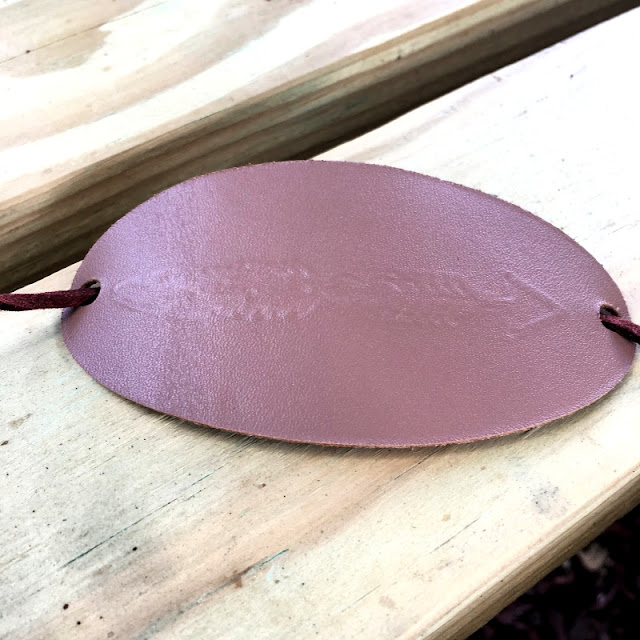
Note: The debossed design is very subtle on the leather. I dampened the leather slightly to make the impression a little more noticeable. From what I have seen, the debossing tip shows up better on materials such as card stock, poster board, and chipboard.
I used a piece of leather cord to finish the bracelet, but you could also use jewelry chain.
Making the Engraved Earrings
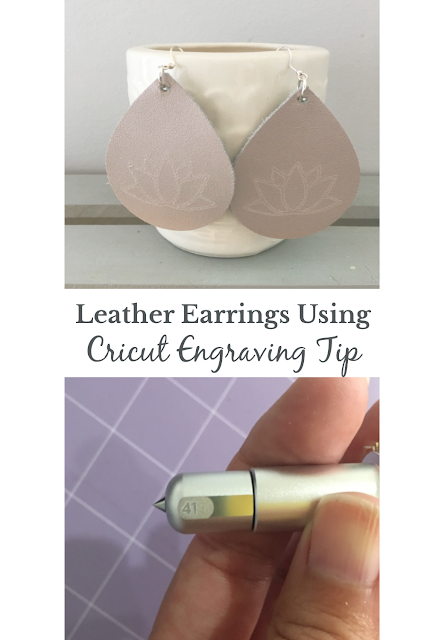
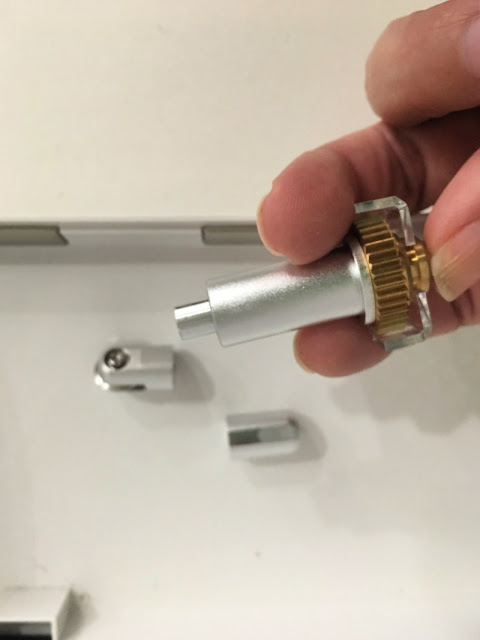
Start by opening my project (linked above) in Cricut Design Space or create your own. Note, under the "Linetype" I have selected the drop down for Engrave. If you are using the QuickSwap housing, switch out the tips. This is super easy; simply press the button on the top of the QuickSwap Housing, pop the old tip off, and slip the new one on.
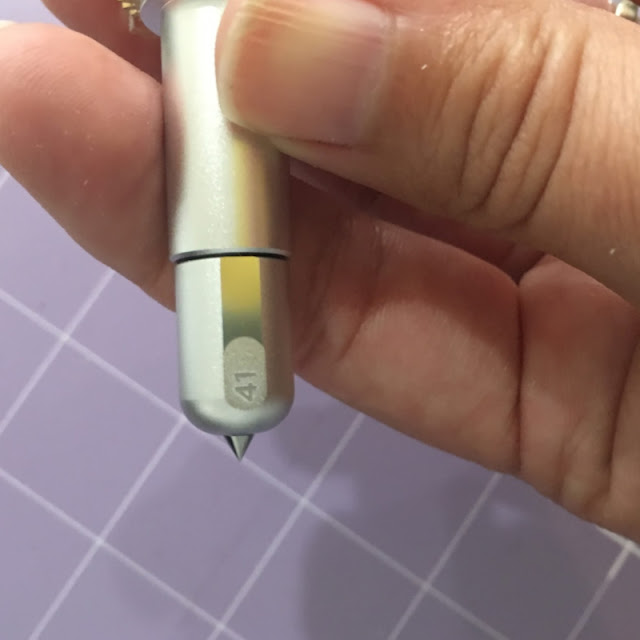
You can see the difference between the debossing tip, which has a small ball, verses the sharp point on the engraving tip.
Load the Engraving tip in the right (B) clamp in the Maker. Follow the same directions above and in the Design Space software to load your mat and make the cuts. Once you unload the mat, and remove the leather pieces, use pliers to attach the earring findings through the holes in the leather earrings.
This is a sponsored conversation written by me on behalf of Cricut. The opinions and text are all mine. Comments submitted may be displayed on other websites owned by the sponsoring brand.







No comments:
Post a Comment
Please note that comments have been turned off. (Providing a name and email is not required to leave a comment on this website. If you choose to leave a name and email address, you agree with the storage and handling of your data by this website)
Note: Only a member of this blog may post a comment.