This post contains affiliate links for your convenience, which means I receive a small financial compensation if you make a purchase using this link. You can read more about affiliate links here.
Supplies Needed for Shirt:
Open up the Teacher Shirt Project in Cricut DesignSpace. You can Make It as is, or Customize to change the grade. Once you are ready to cut, load the mat with the Iron On material shiny side down.
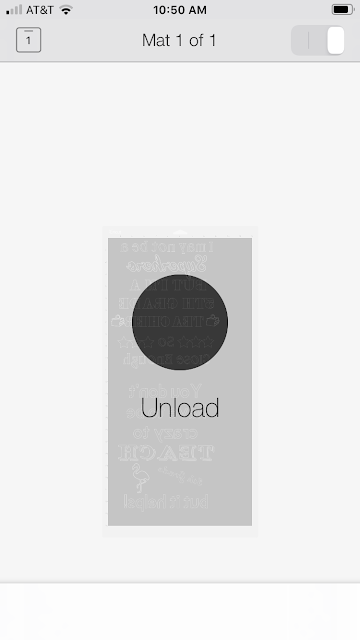
Once you press the blinking "C" on your machine, the DesignSpace will show you the progress of your cut and when it is complete and ready to unload.
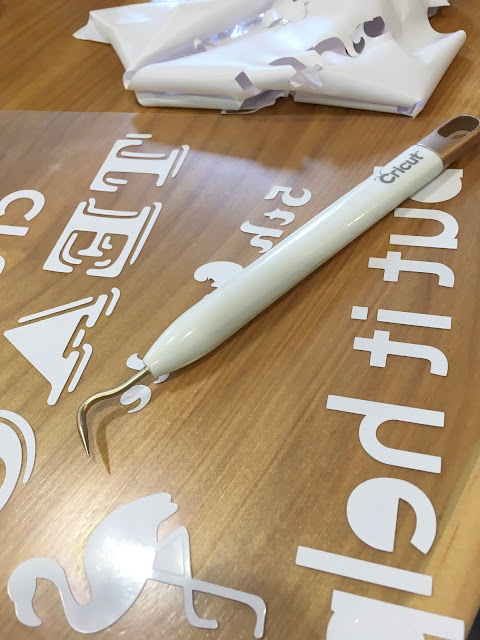
I used my Cricut cutter to trim the vinyl down to the design before I put it on the shirt.


Preheat your EasyPress or EasyPress 2 to the appropriate temperature according to your shirt material and type of Iron on vinyl, then press the design on to the shirt. Gently remove the backing to reveal the custom T-shirt! Use Cricut's Heat Guide (by clicking this link) to quickly find your instructions.
PIN ME for Later!


No comments:
Post a Comment
Please note that comments have been turned off. (Providing a name and email is not required to leave a comment on this website. If you choose to leave a name and email address, you agree with the storage and handling of your data by this website)
Note: Only a member of this blog may post a comment.