You may remember me talking about our Habitat ReStore haul in a previous post, where we scored a full view entry door and larger window. We also picked up a couple of door frames for $0 off Freecycle (a craigslist-type site for free stuff) that we are using for the entry door and the new door going into the garage from the mudroom area.
There was a tiny window in the old bathroom area which we wanted to enlarge to take advantage of the natural light. We also wanted to change out the solid door for a full view glass door and remove the storm door. As you can see the below, the new window is about twice as wide as the old one.
We had to do a little rearranging to the hinges and lock plates on the door frame and the jamb to accommodate our door, but it was cheaper than buying a new door and frame.
We chose this Smartkey lock set from Kwikset because it allows you to re-key the lock to match your existing keys. This saves you from having to replace all the door locks to get them to match! We also did this with our carport entry door earlier in the year.
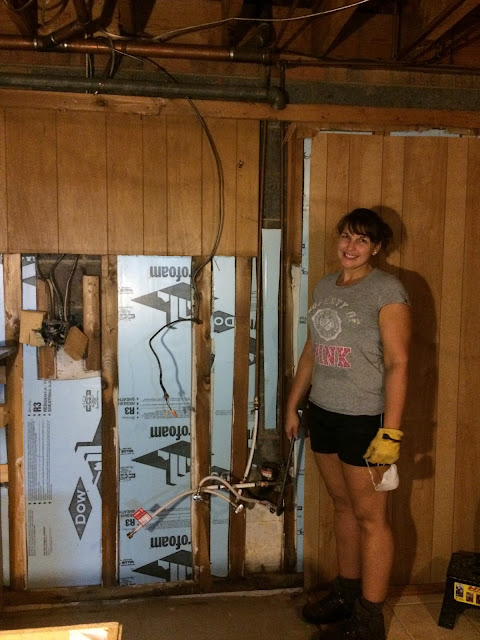
Our other project was finishing the demo on the old defunct kitchenette, so we can start hanging drywall. We left this till last because it involved capping off and removing the old plumbing and filling in a giant hole in the cinder block with concrete, where the plumbing went out to the old septic tank.
We carefully took apart the cabinets because we wanted to re-use them in my hubbys workshop area. We also wanted to save the sink to donate to Habitat since it was in good shape. (Sorry for the horrible lighting, but we literally have one light fixture in this room, over in the corner.)
I can finally see how large and open the living space is going to be now that we have the knee wall gone and the kitchenette out. There is also a huge difference in the lighting down here with the natural light coming in the new door and window. Next we start hanging drywall and I can't wait to share those pics because the space is finally looking finished!
Catch up on the other posts in this series:
And So it Begins...
Demo Time!
Breaking Ground
Let the Framing Begin
More Plumbing and Electrical
More Walls and a Door


No comments:
Post a Comment
Please note that comments have been turned off. (Providing a name and email is not required to leave a comment on this website. If you choose to leave a name and email address, you agree with the storage and handling of your data by this website)
Note: Only a member of this blog may post a comment.