I have had my Cricut for over a year, but this was the first time I uploaded a saved image into the Design Space. I had previously only used other's free .svg files. It is not as hard as you might think!
Here is how you upload a .jpeg into Cricut Design Space:
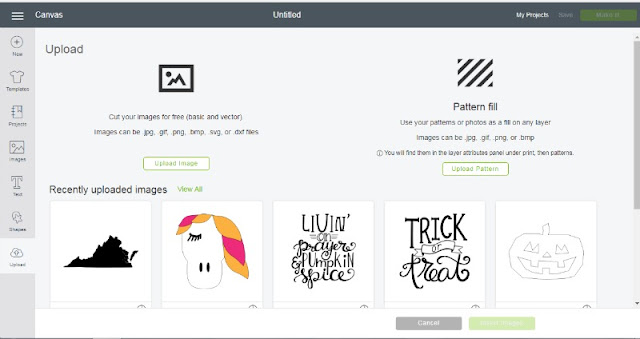
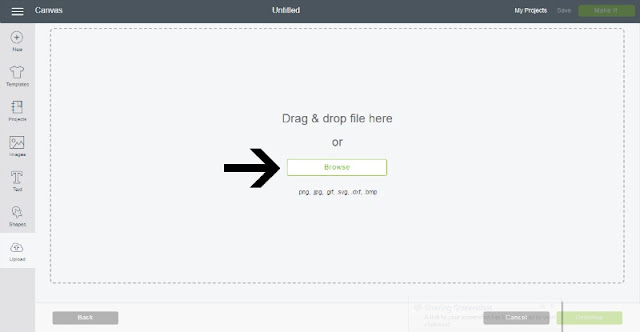
Open up Design Space and click on New Project in the top right corner.Click on Upload and Browse in your files to find the .jpeg image.
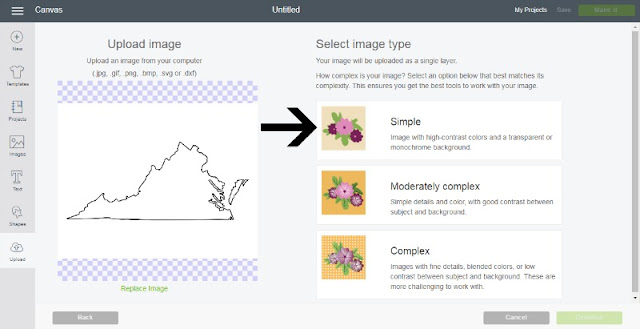
At this point you have three options depending on how complex your image is: Simple, Moderately Complex, and Complex. Mine was just the outline of a state, so I selected Simple and Continue.
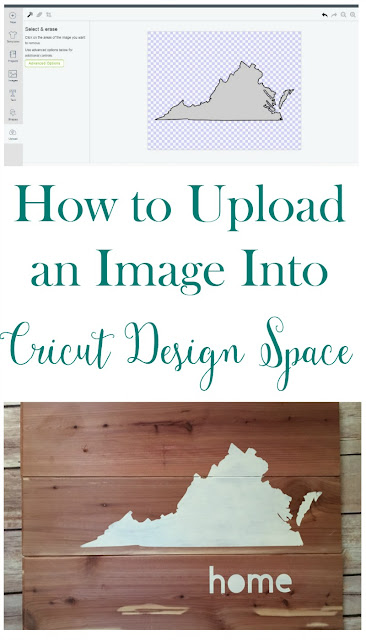
Now, you can erase areas of the design you do not need if you wish. I simply clicked on the background (it will turn into a checkerboard pattern) to erase it, leaving the outline of the state.
Click Continue to proceed.
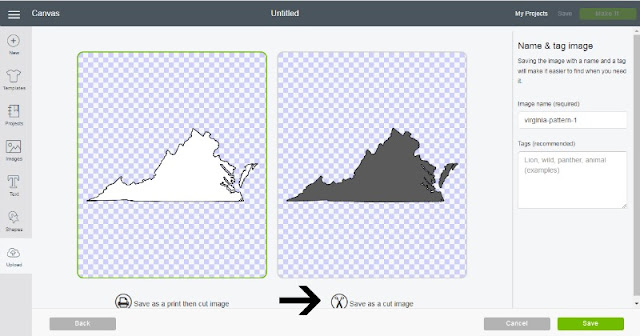
Next you have the option to save as a Print then Cut Image or a Cut Image. I chose the latter, since I was going to cut the image out of vinyl. Name your image and Save it.
Now you can select your uploaded image to import into Design Space. Now you can size it and add text or other elements as needed!
Don't forget to Pin this post for later!
Disclosure: I am part of the Cricut Blogger Program and may receive supplies to complete my projects, but all thoughts are 100% my own. I love my Cricut and am excited to share my projects with you!







No comments:
Post a Comment
Please note that comments have been turned off. (Providing a name and email is not required to leave a comment on this website. If you choose to leave a name and email address, you agree with the storage and handling of your data by this website)
Note: Only a member of this blog may post a comment.