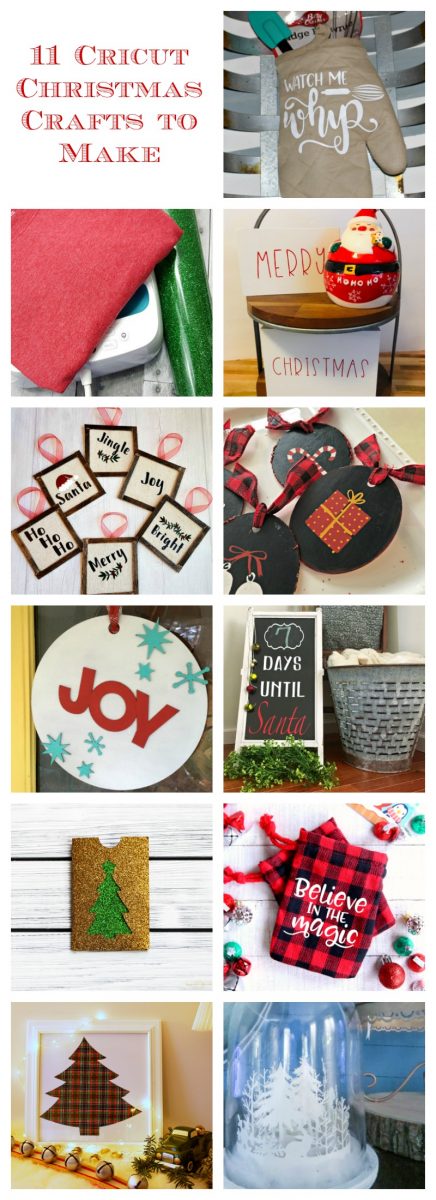
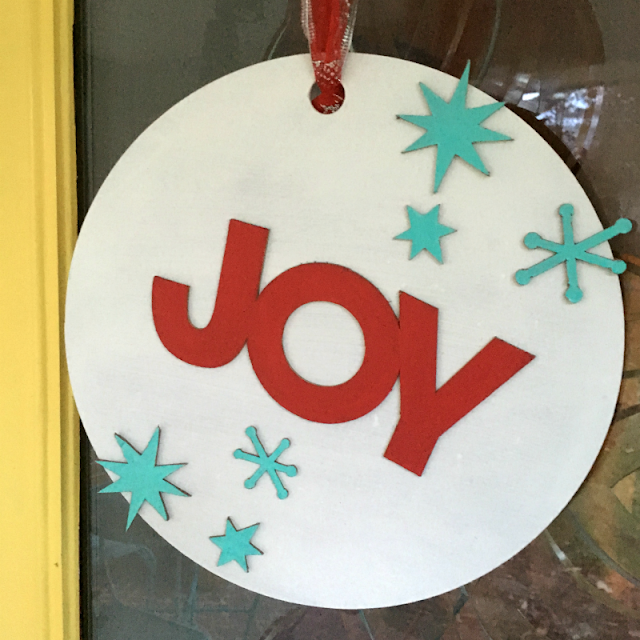
I went back and forth over what I wanted to make. I really wanted to try my hand at using chipboard and the knife blade in my new Cricut Maker. I thought about making ornaments (which I will still do,) but settled on a layered chipboard "Joy" wreath for my door.

This post contains affiliate links for your convenience, which means I receive a small financial compensation if you make a purchase using this link. You can read more about affiliate links here.
Supplies needed for Layered Chipboard Wreath
Cricut Maker Machine
Cricut Knife Blade
Cricut StrongGrip mat
Masking Tape
Cricut Heavy Chipboard (2.0 mm) - 2 pieces
Paint
Small Brush
I used several images in Cricut's Design Space to make this sign. You can use my ready-made Christmas Wreath project in Design Space by clicking on this link.
I changed out the fine point blade for the knife blade in my Cricut Maker. It is super easy... just release the clamp, remove the old blade housing, insert the new housing, then close the clamp. Since it was the first time I used my knife blade, I was prompted to calibrate it using a piece of paper. Follow the instructions on the software, then select the best cut. You will also need to push the white wheels on the Maker all the way to the right so they are out of the way of the chipboard. Now, you are ready to go!
With the chipboard, I used the StrongGrip Mat and also taped it down to keep the chipboard from moving. I used painters tape since that is what I had on hand and it worked fine. This step is super important because the blade cuts the design 20 times and you do not want the chipboard to move.
(Notice in the image below, the wheels were all the way to the left, but I realized they were touching the chipboard, so I removed the mat and pushed them all to the right, prior to starting the cut.)
I selected Heavy Chipboard - 2.0 mm from the Material list and the software reminded me to move the wheels and secure the chipboard with masking tape. Load the mat, then press the blinking "C" to get started. Be patient, as these cuts take a while. The circle only took several minutes, but the Joy and stars took about an hour...so go walk the dog or have a cup of coffee.
Once the cut finishes, unload the mat, remove the chipboard, and pop out your designs. I painted my pieces, but you could leave them unfinished for a natural look, which would be cute, especially for ornaments. I then glued the pieces together and hung it with a piece of ribbon.
I am obsessed with the Maker even more after watching it cut the chipboard! Even my husband was impressed with it...so stay tuned for more wooden projects. What would you make with this?
Click on the links below to check out the other Christmas projects, then tell me your favorite in the comments!

Watch Me Whip Oven Mitt Gift Idea / Make Christmas T-shirts with Cricut / Rae Dunn Inspired Christmas Signs / Mini Reverse Canvas Ornaments / How to Use Cricut Maker and Chalk Couture to Make Christmas Ornaments / Painted Chipboard Christmas Wreath / Days Until Santa / Glitter Cardstock Gift Card Holder / Believe in the Magic Gift Bags
Disclosure: I am part of the Cricut Blogger Program and may receive supplies to complete my projects, but all thoughts are 100% my own. I love my Cricut and am excited to share my projects with you!


Very pretty! I can't wait to try the chipboard!
ReplyDeleteThank you! I am obsessed now and can't wait to make more things!
DeleteHow neat! Can you believe we're talking about the Holidays already? UGGGGH, where did the time go?!!!!
ReplyDeleteGirl, I am trying to prolong it, but the year has flown by!
Delete