This post contains affiliate links for your convenience, which means I receive a small financial compensation if you make a purchase using this link. You can read more about affiliate links here.
Supplies for DIY Felt Wall Hanging
Cricut Maker
Cricut Rotary Blade
Cricut StrongGrip Mat or Fabric Grip Mat
Cricut Felt
Cricut Patterned Iron on Vinyl
Cricut Easy Press2
Cricut EasyPress 2 Mat
Dorm Wall Hanging Project in DesignSpace
Yarn
Wooden dowel
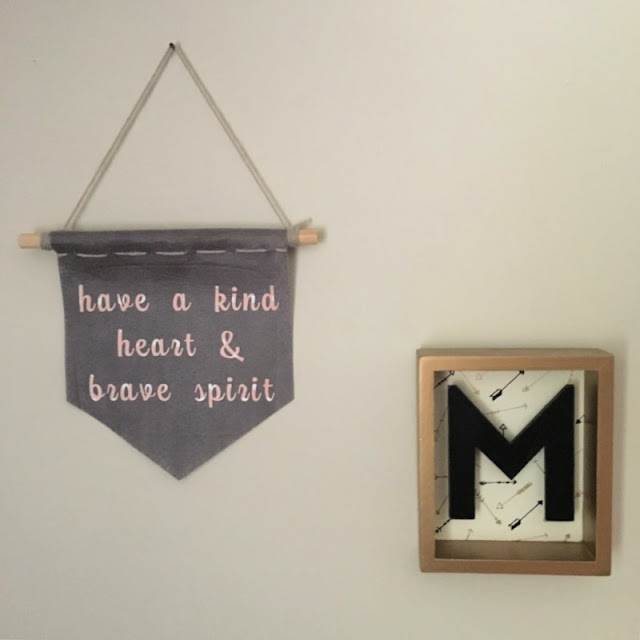
Get started by opening up my Dorm Wall Hanging Project in Cricut DesignSpace. If you would like to change the quote, you can chose to edit my project or make it as is. I inserted the Rotary Blade into the right side housing to prepare for the felt cut.
Once the cut has completed, unload the mat and change the blade. I used the Fine Point Blade to cut the Vinyl. Load the mat and chose the appropriate material, then begin the cut. Don't forget to Mirror the image! Once the cut has completed, unload the mat and remove the vinyl. Carefully weed the excess vinyl from the design. I love my weeding tool to get the small pieces inside the letters!
Preheat the EasyPress2 according to the material chart. Once it beeps to let you know it is ready, firmly apply pressure to the design for 30 seconds. Carefully remove the plastic liner, making sure the vinyl is adhered fully.
Cut the dowel to length, if needed. Measure out the yarn (I measured twice the width of the banner, plus a little extra.) Hand sew the dowel into the top of the banner using the pre-cut slits. I started on one end, looping every other one, then came back the other direction.
Cut another length of yarn to hang the banner, securing to each end of the dowel by wrapping it around a few times and tying a knot.
Feel free to add tassels to the bottom, or pom poms to the sides of the dowels, or even glue on decorative trim to make it your own style! What quote would you put on a banner like this?
PIN ME for Later!
Disclosure: I am part of the Cricut Blogger Program and may receive supplies to complete my projects, but all thoughts are 100% my own. I love my Cricut and am excited to share my projects with you!


No comments:
Post a Comment
Please note that comments have been turned off. (Providing a name and email is not required to leave a comment on this website. If you choose to leave a name and email address, you agree with the storage and handling of your data by this website)
Note: Only a member of this blog may post a comment.