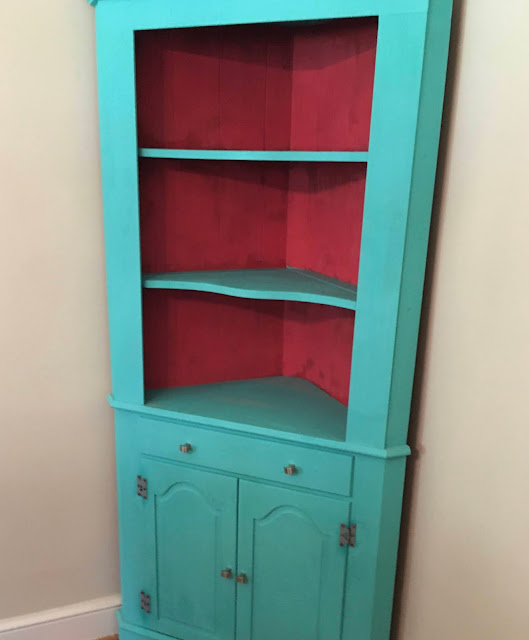
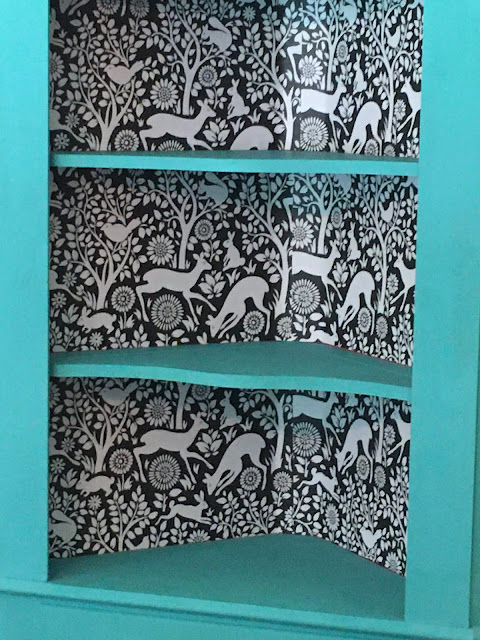
I chose a black and white woodland pattern from WallPops. This brand is popular among DIYers and is affordable.
Supplies needed to hang wallpaper:
Peel and stick wallpaper (enough for the area you are doing)
Utility knife
Tape Measure
Pencil
Scraper (or credit card)
Straight Edge or T-Square
Cutting surface (I used a board)
Start by cleaning the area where you are applying the wallpaper. I used a damp rag to dust the back of the cabinet. I then used a pencil to mark the center of the cabinet.
Measure the length to cut the paper. I got lucky and the width of each side was almost exactly the right width, so I just cut the length. To cut the wallpaper, I rolled out the length onto my board and used the t-square to make a straight edge to cut against.
Best practice is to slowly remove the backing as you apply it. I tried that, but since I was working with a small piece in a corner cabinet, it was easier for me to pull the backing off all at once.
I lined up the paper with the center mark and worked out to the edge. You can use the scraper or your hand to smooth the bubbles out as you go. If it gets wrinkled or crooked, you can easily pull it up and reapply.
Repeat the process for the other shelves. Note: I did not worry about lining up the pattern in the middle since it was in a corner and I would have items in the cabinet covering it, so I saved paper that way. If this were going on a wall, you would have to cut the following pieces to line the pattern up where the pieces come together.
The process took me about 30 minutes to complete and I have a whole new look to my china cabinet! What do you think? Have you used peel and stick wallpaper yet?
If you want to see how I made over this cabinet with paint and trim, head to this post:
Pin Me for Later!


That looks amazing!
ReplyDeleteThank you so much!
Delete