This is a sponsored post written by me on behalf of Cricut. All opinions are 100% mine.
This post contains affiliate links for your convenience, which means I receive a small financial compensation if you make a purchase using this link. You can read more about affiliate links here.
Wanna learn more? Keep reading!
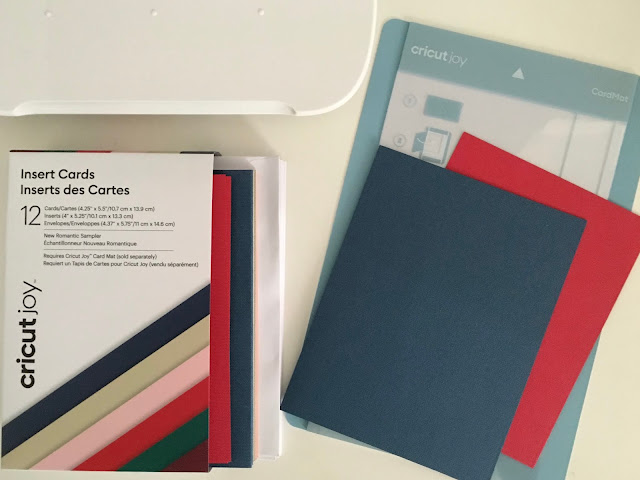
One of the most exciting things about this machine is the ease of card making with the NEW Cricut Joy blank card insert sets. You get a card, insert, and envelope, making it a breeze to create the perfect card in minutes. Cricut Joy also writes, using a variety of sizes and colors in Joy-compatible pens.
Even though the new Cricut Joy Smart Vinyl does not require a mat, there are small mats that can be used with the vinyl you have on hand. But, the blade and pens are unique to Cricut Joy, so you cannot use your existing Maker or Explore tools with this machine.
Available Accessories for the Cricut Joy:
- Pens
- Markers
- Gel Pens
- Infusible Ink Markers
- Infusible Ink Transfer Sheets
- Smart Label Writable Smart Vinyl
- Adhesive Backed Paper
- Card Blank Sets
- Smart Vinyl in Permanent and Removable
- Smart Iron On Vinyl in Solid colors and Patterned
- Transfer Tape
- Standard Grip Mat in 6" or 12"
- Light Grip Mat in 12"
- Card Mat
- Carrying Case
I broke in my Cricut Joy with three, quick projects that I completed in a Saturday afternoon. I made a birthday card, labels for my craft cart, and professional-looking coasters. Scroll down for each of the tutorials.
If you have not set up your Cricut Joy, you will need to do that first by going to Cricut.com/setup and following the prompts on the screen. Once this is complete and you are ready to get crafting, you will need to connect it to your device's Bluetooth since there is not a USB cord. You should be able to find it under the Settings menu on your device and pair it up.
How to Make a Card with Cricut Joy
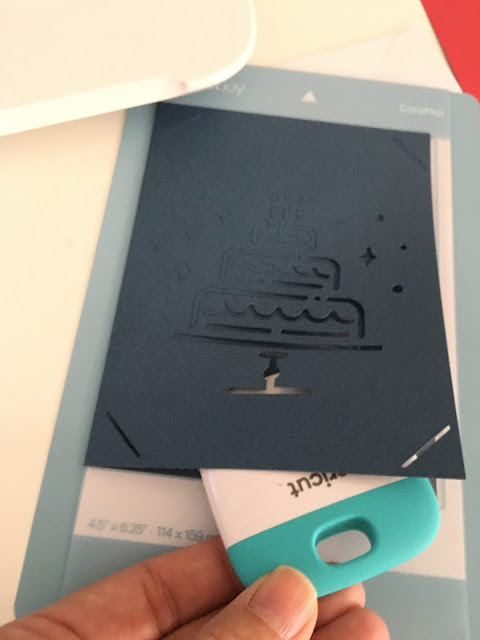
Since this was my first project, I chose a Ready Made Project to make instead of creating my own. In Cricut Design Space, select this Birthday Cake Card Project and Make It.
Take the protective film off the special card mat and slide the card in between the sleeve. Make sure "Card Mat" is selected in Design Space under Material Load Type and 4.25" x 5.5" Material Size is selected.
Set the Material to "Insert Card-Cardstock" and follow the instruction on the screen to load the tools and mat.
Once the cut is complete, you will be prompted to unload the mat on your device (since there are no Start, Load, or Unload buttons on the Joy)
Gently remove the card from the mat. (You can use the spatula tool or scraper to help if needed) Place the contrasting color insert inside the slits on the card and there you have it! I may never buy a card again!
How to Use Smart Label Vinyl with Cricut Joy
Supplies Needed:
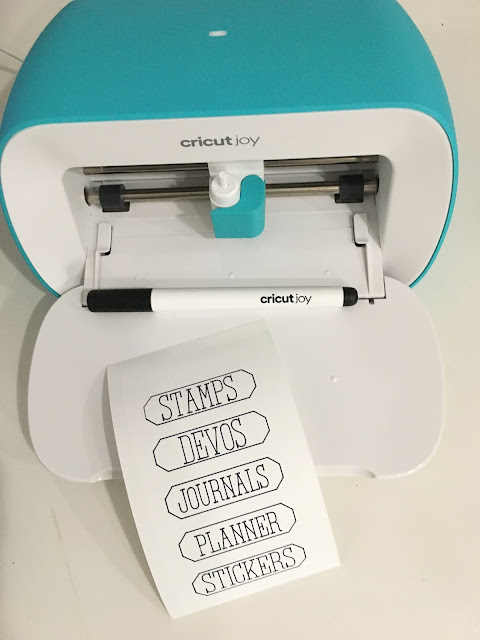
My next project was to use the Smart Label Writable Vinyl to organize my rolling cart I got for Christmas that holds my planner supplies and journaling materials.
This time, I customized this Spice Jar Label project in Cricut Design Space. You have to detach the text from the shape to change the word, then attach it back when you are finished. Once you have added the text you want, click the Make it button.
You will be prompted on how you will load your material (without mat, on mat, card mat.) Since I am using the Writable Smart Label Vinyl, I do not need a mat, so I choose Without Mat and clicked Done.
You will be prompted to place your Cricut Joy Pen in the housing. Simply open the clamp, place in the pen, and close the clamp. There is not a "click" like there is in the Explore or Maker machines.
Follow the prompts to load the vinyl into the Joy by placing the material under the guides. The Joy will sense the material and pull it in. Once the writing portion is complete, you will be prompted to change out the pen for the blade. Continue the cut and when the project is finished, you will be prompted on the screen to unload your material.
I used my Cricut Portable Trimmer to cut the labels apart, then removed the excess vinyl around the labels to make them easier to peel off the backing. I placed them on the drawers on my craft cart. The awesome thing about these labels is that there is no dry time for the ink and no smudging!
How to Make Infusible Ink Coasters with Cricut Joy
Supplies needed:
Butcher paper
Cardstock (80 lb.), White (colored cardstock not recommended)
Lint-free cloth
Scissors
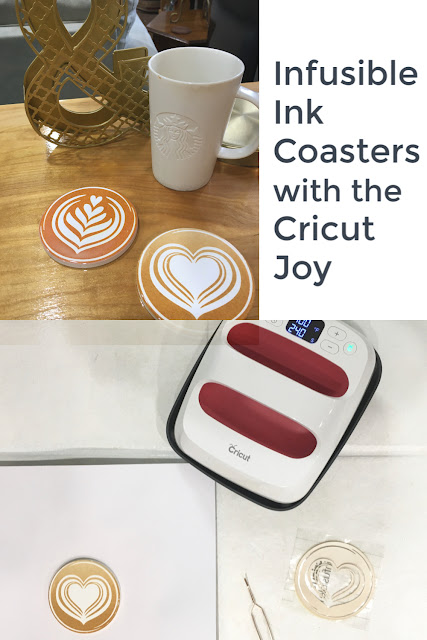
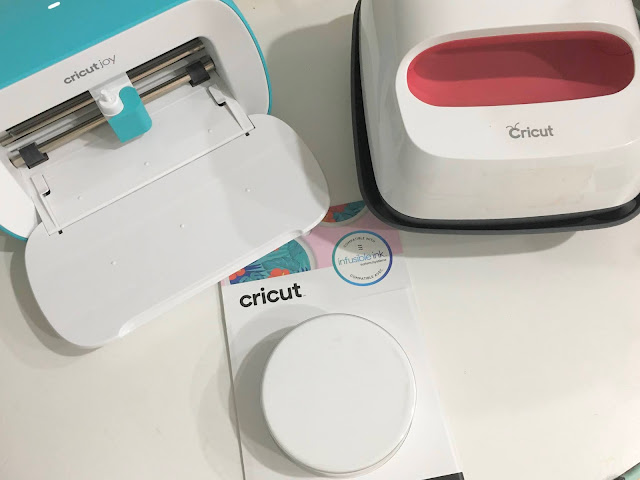
My third project is making Coffee Art coasters using Cricut's Infusible Ink. Open up my Coffee Art Coasters project in Design Space and click Make It.
Select the Mat option. I cut my Infusible Ink Transfer paper so I am using "On Mat." I also changed the Material Size setting to 4.5" x 12" so I could fit both designs on one mat. Mirror your Design and click Continue.
Select Browse All Materials and choose Infusible Ink Transfer Sheet. Place the material on the mat with the liner side down (the color should be face up.)
Follow the prompts to load the mat into the Joy by placing it under the guides and choose Go in Design Space.
When the project is finished, you will be prompted on the screen to unload your mat. Trim the sheet down to the size of your design and gently weed away the excess material from the design, using your fingers.
Pre-heat your Cricut EasyPress 2 to 400 degrees for 240 seconds. For original Cricut EasyPress settings, refer to Cricut EasyPress Heat Transfer Guide.
Use a lint-free cloth to remove any debris from coaster. Cover the Cricut EasyPress Mat with white cardstock to protect it from unwanted transfer.
Place design face-down on coaster, with the clear liner on top and place the coaster face down on the white cardstock. Cover the coaster with butcher paper. One coaster at a time, place the Cricut EasyPress 2 on top of the butcher paper and press the blinking "C" to start the timer. You do not have to add pressure.
When the beep sounds, slowly lift the EasyPress. Try not to move the stack, including the butcher paper. CAUTION: Coaster will be very hot, so let cool completely before handling. Once cool, slowly remove the butcher paper and liner.
Look at these beautiful ceramic coasters that looks like they were professionally painted!
Kudos if you made it through this whole post! It was a long one, but I wanted to show you how versatile the Cricut Joy is. Which of these projects are your favorite?
Pin Me for Later!










No comments:
Post a Comment
Please note that comments have been turned off. (Providing a name and email is not required to leave a comment on this website. If you choose to leave a name and email address, you agree with the storage and handling of your data by this website)
Note: Only a member of this blog may post a comment.