OK lets take a look waaaaaaaaaaaay back where we started...with a piece of paper and a dream. I honestly cannot believe it is the same space!
This was our original basement remodel plan:
- Rip out the old bathroom and convert the area to a mudroom, since it is right beside the exterior door.
- Tear down the drop ceiling, which was barely 7' tall and either leave the joists exposed or put back up another type of ceiling that is not dropped so low We ended up moving as much of the pipes and duct work as possible and used sheet rock on the ceiling.
- Take down the cheap, painted paneling in the main living area and hang drywall.
- Tear out the kitchenette and partial divider wall to have one large recreation area.
- Replace the tile and carpet with vinyl plank flooring throughout the entire space. We ended up leaving the tile in the kitchenette area and painting it.
- Convert the back half of the garage/shop into a bathroom and laundry room, which includes putting in a sump pump.
I am proud to say we accomplished 95% of our goals and the space turned out better than I could have even imagined. Get ready for a ton of "before" and "after" pictures and a general breakdown of where we spent our budget.
Bathroom/Laundry Room
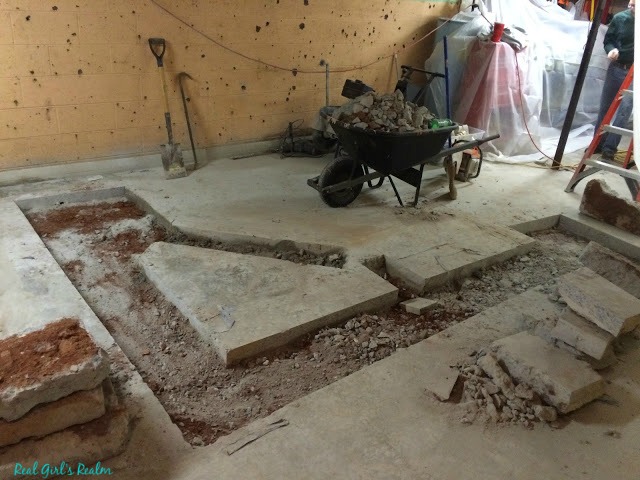
Before: This space was open storage in the back of the garage, along with a small closet. We called in the professionals to install the underground plumbing and sump pump. This was the largest chunk of our budget, but money well spent. In the layout below, the laundry room is on the left and the bathroom is on the right.
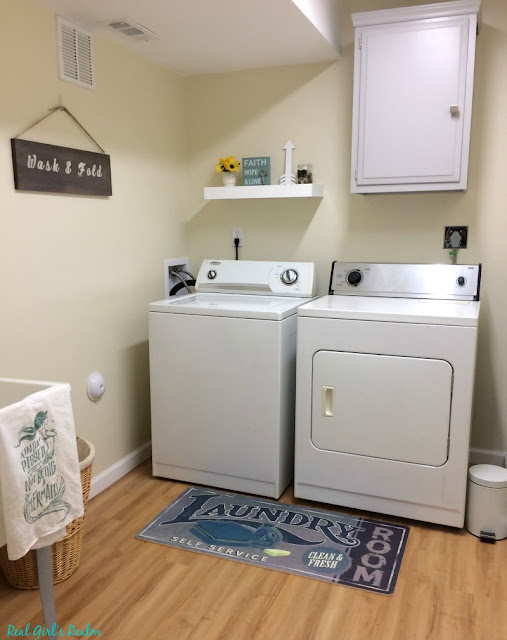
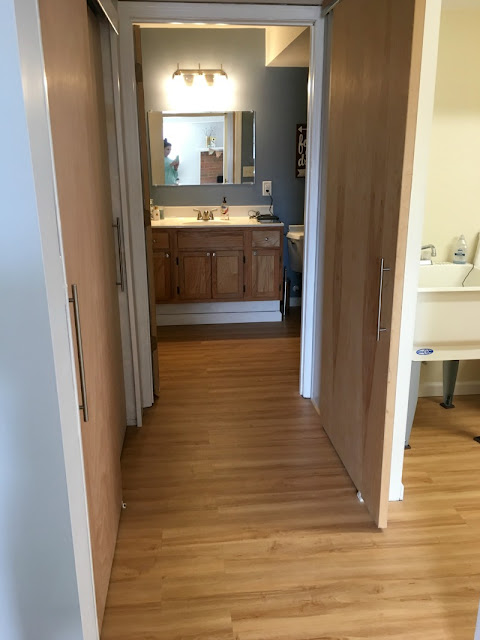
After: We created a large bathroom with a full sized tub/shower and a laundry room, complete with a utility sink and sliding barn style door.
Living Room
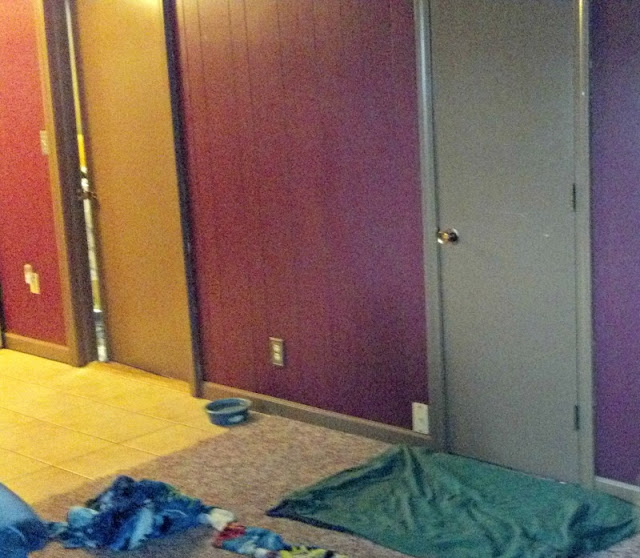
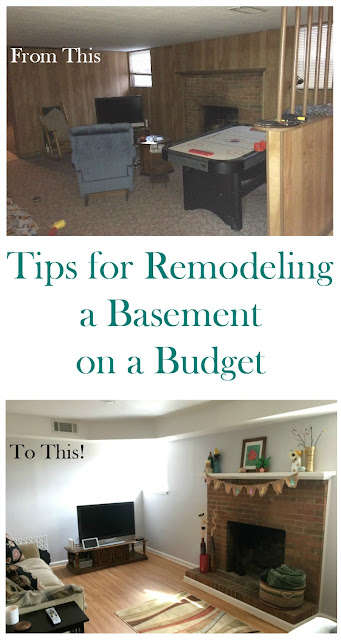
Before: This room had no overhead lighting in the main area, only in the kitchenette space. I could touch the ceilings; the carpet was stained and water damaged and the walls were cheap paneling. Needless to say, the space was NOT inviting. (Note: The quality of the "Before" pics are really terrible due to lighting and being taken on an old phone)
After: We have light from eight can lights in the ceiling, the walls are light gray, and the flooring is a light-color vinyl plank. Also, you can no longer touch the ceiling; it has been raised at least a foot and a trey detail was added around the perimeter to accommodate the plumbing that we could not move. The living space is one cohesive area and not closed off. My craft nook is in the corner where the refrigerator used to be.
After: We have light from eight can lights in the ceiling, the walls are light gray, and the flooring is a light-color vinyl plank. Also, you can no longer touch the ceiling; it has been raised at least a foot and a trey detail was added around the perimeter to accommodate the plumbing that we could not move. The living space is one cohesive area and not closed off. My craft nook is in the corner where the refrigerator used to be.
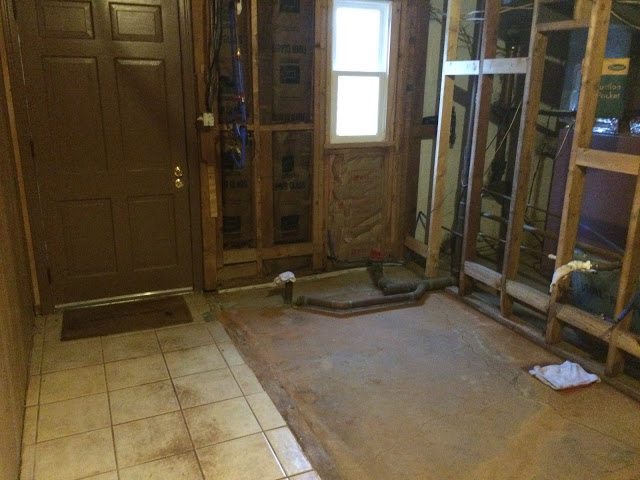
Mudroom
Before: This space was originally a tiny bathroom/dark hallway with stained tile and sliver of a window that let in very little natural light.
After: With a full lite entry door and larger window, the newly created mudroom space is light and bright and a convenient place to leave our dirty shoes, coats, and hats. We also built a closet to hold some of our cleaning implements and my hubby installed an outlet and shelf in it to charge our batteries for our drills and drivers.
Here is the general breakdown of our basement renovation costs
$5,000 - Underground plumbing/installing all bathroom/laundry fixtures
$1,200 - Electrical Contractor and supplies
$1,600 - $1,200 for Contractor to finish the drywall, remainder for drywall and supplies
$ 800 - Contractor to frame out trey ceiling in main room, along with supplies
$1,300 - Vinyl plank flooring for entire basement (materials only; we installed ourselves)
$ 270 - Exterior door, bathroom door, sliding door slabs, window (from salvage stores)
$120 - Shower insert and toilet from ReStore
$ 250 - Self leveling concrete and other supplies for tile floor
$300 - Paint (Floor, walls, ceiling, and trim)
$660 - Misc supplies
$660 - Misc supplies
Approximate Grand Total: $11,500
While we did hire contractors for a few of the projects that were out of our skill set or that called for professionals, the money was well spent. Sometimes, you have to compromise and spend a little extra to have a project done correctly. In our case, we hung the drywall and did the first coat of tape and mud, but realized we would not be happy with the finished product, so we contracted the finishing out. We still saved money by doing most of the work on the front end. Also, I had saved about 1/2 of the budget amount for the reno prior to beginning, so we could pay cash for the supplies. We also took advantage of the 10% discount by using our Home Depot Credit card and paid it off monthly or soon after. (Unfortunately, Home Depot no longer offers this discount)
Ways to Save Money on Renovations:
Shop your house - If you are a chronic DIY'er, you probably have a garage or workshop full of scrap wood, fixtures, and other supplies. We reused all of the doors in the basement, updated with a few coats of paint. We also reused the vanity and light fixture from the old bathroom. We would have re-used the toilet, but in the meantime, we had to replace the toilet in the upstairs bathroom, so it got re-used there. We built the bench in our mudroom using scrap wood from shelves we removed from the garage. Check your leftover paint; I painted the laundry room with paint left over from our master bathroom.
Shop the Habitat ReStore and Salvage stores - We shopped these stores first for the big items and even smaller things like hardware. We purchased the following at a deep discount: Exterior door, bathroom door, sliding door slabs, window, toilet, tub/shower insert, laundry room cabinet, floating shelf, door hardware, replacement tiles for living room, and a few other small supplies.
Shop the Clearance section at Home Depot - I found a couple gallons of paint for less than $10 that I used in the bathroom and also samples for $ .50 that were perfect for small projects like cabinets and shelves and painted the mudroom bench with a sample I bought for our exterior.
Do the work yourself - I know this seems self explanatory, but you would be surprised at how much money you can save by doing the work yourself if you are up to it. Our contractor that finished the drywall said we were saving about $1,800 by painting the basement ourselves. We saved thousands of dollars by doing all the demo, framing, moving the duct work, hanging drywall, installing the flooring, baseboard and trim.
It was a long road, full of mishaps and tears, but now that it is done, I can say it was worth it. I wish it would not have taken so long for us to complete it, but with full time jobs, my son in sports, and church/family obligations; we only had small windows of time to work on it. The bottom line is...We remodeled our basement and you can too!









Wow, wow, wow!!! I have enjoyed watching this journey over the past couple of years and it is so amazing to see how all the pieces came together. It looks fantastic, Mary, and I know you are simply thrilled it is complete and so transformed! I really enjoyed reading your tips on how to save money on similar projects, too.
ReplyDeleteThank you so much Jennie!It really has come together and seeing the before and after pictures helps me remember how far we have come!
DeleteI am just AMAZED by this... amazed. I just love the ceiling, how light and airy the space is for a basement. And, the style is def. with the latest trends. Just LOVE it. I can't believe how much you guys did on your own. Now you can sit back and just enjoy it!
ReplyDeleteCarrie
curlycraftymom.com
Thank you Carrie! I am amazed as well that we accomplished this mostly on our own. We love it and already spend so much time down there!
DeleteIt looks amazing lady! I love everything about the new layout and the color choices you made. That new door really brightened things up and made it seem less closed in! We have been slowly redoing sections of our basement and I’m impressed with all you got done for that cost- really amazing! <3 Jamie
ReplyDeleteThank you Jamie! We worked so hard and scrimped and saved wherever we possibly could! I am so proud of what we accomplished!
DeleteThanks for keeping us going!! I would have quit if not for you. :)
ReplyDeleteI wanted to quit as well so many times! I think we both kept each other going!
Delete