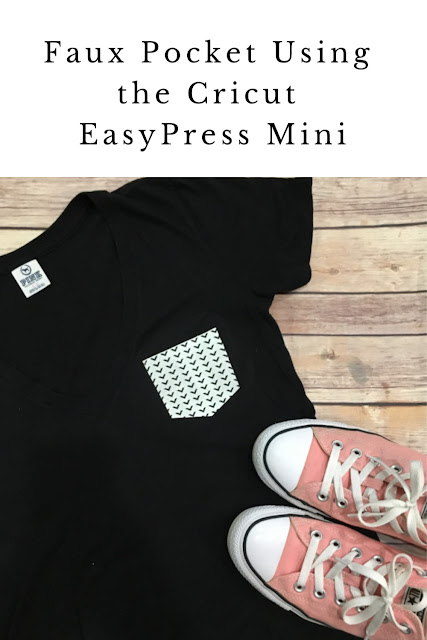
Cricut is really killing it this year with new products...Infusible Ink, new QuickSwap Maker tools, and the EasyPress Mini! It is the newest addition to the EasyPress family and is the cutest tool I have ever seen! Today, I am putting it to work and showing you how to add a faux pocket to a plain t-shirt.
This post contains affiliate links for your convenience, which means I receive a small financial compensation if you make a purchase using this link. You can read more about affiliate links here.
Why do I need the Cricut EasyPress Mini?
- Cricut EasyPress Mini is a great companion to whatever size Cricut EasyPress you have in your current collection.
- Cricut EasyPress Mini is perfect for small and/or unique projects like hats, shoes, shirt sleeves, cuffs, pockets, and stuffed animals!
- Cricut EasyPress Mini offers the same benefits and technology as the Cricut EasyPress 2: even heat plate and 3 easy-to-use heat settings for effortless heat transfers.
- You can use the EasyPress Mini with all of the types of Cricut Iron on.
Supplies Needed for Faux Pocket T-shirt
Cricut Maker or Explore
StrongGrip Mat
Cricut Iron on Vinyl (I used the Nature Walk Basics sampler)
Cricut EasyPress Mini
Plain T-shirt
Moon & Star Pocket T-Shirt Project in DesignSpace
Open up the above project and size the pocket if you need to. Load the patterned iron on vinyl shiny (pattern) side down and start the cut. Unload the mat and weed the excess vinyl from around the pocket.
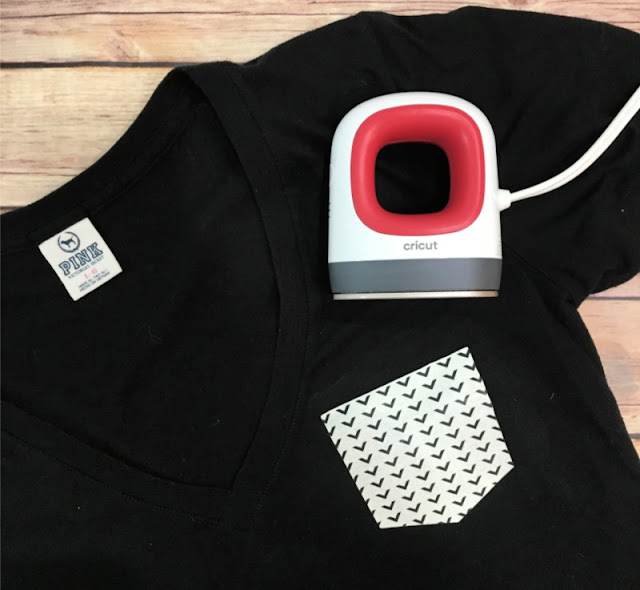
Once I positioned the pocket where I wanted it, I used a mini safety pin to keep it in place while I ironed it on. Preheat the Cricut EasyPress Mini to the Medium setting. Once hot, move the Mini continuously over the transfer (like an iron) until the design is adhered since there is not a timer. Gently peel away the liner to reveal a faux pocket!
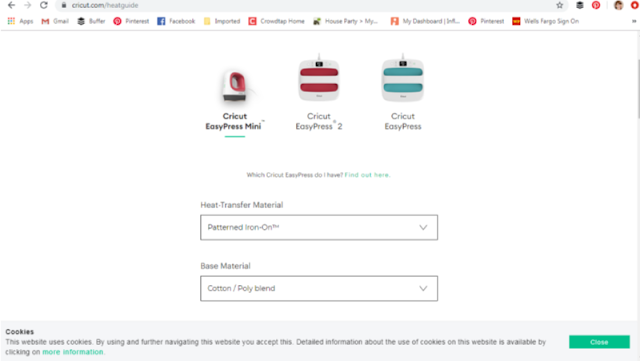
If you ever need help with any of the settings for the EasyPress machines, head to www.cricut.com/heatguide. You just choose the machine you are using, then select the materials you are using in the drop down boxes and it gives you all the info you need! I used this for the first time on this project and it was so much easier than looking through the manuals.
PIN ME for later!
Disclaimer: Comments submitted may be displayed on other websites owned by the sponsoring brand.


No comments:
Post a Comment
Please note that comments have been turned off. (Providing a name and email is not required to leave a comment on this website. If you choose to leave a name and email address, you agree with the storage and handling of your data by this website)
Note: Only a member of this blog may post a comment.