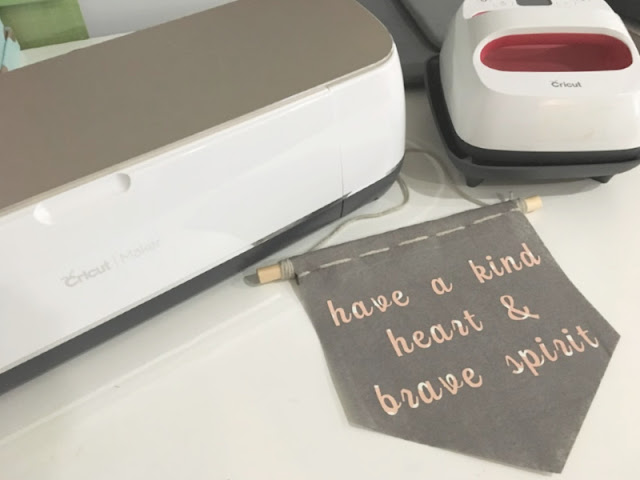
I have had my Cricut Maker for about a year now and have used it for a variety of projects. If you are considering upgrading from the Explore series or buying a Maker, this post is a must read! Even though there are a thousand reasons I love my Cricut Maker, I am sharing my top five with you today!
Features of the Cricut Maker
- Cuts 300+ materials, from the most delicate fabric and paper to matboard and leather
- Compatible with Knife Blade for thicker materials up to 2.4 mm (sold separately)
- Compatible with QuickSwap™ tools to quickly switch between scoring, engraving, debossing, and other decorative effects (sold separately)
- Bluetooth® wireless technology
- Fast Mode for up to 2X faster cutting and writing
This post contains affiliate links for your convenience, which means I receive a small financial compensation if you make a purchase using this link. You can read more about affiliate links here.
5 Things I Love Most About My Cricut Maker
1: DIY Graphic Tees
2: Custom Gifts
It gets expensive buying decorations for every season and holiday, so I frequently make my own. I have made bats out of card stock, custom door mats using vinyl, Christmas ornaments out of faux leather, felt flowers for a Fall wreath, and banners for the mantel. I also made many of the decorations for my son's graduation party, including the cake topper.
4: DIY Jewelry
5: Home Decor
Supplies Needed for Acrylic Sign
8 1/2 x 11 Acrylic panel
Masking/Painters Tape
Dry erase marker or paint (optional)
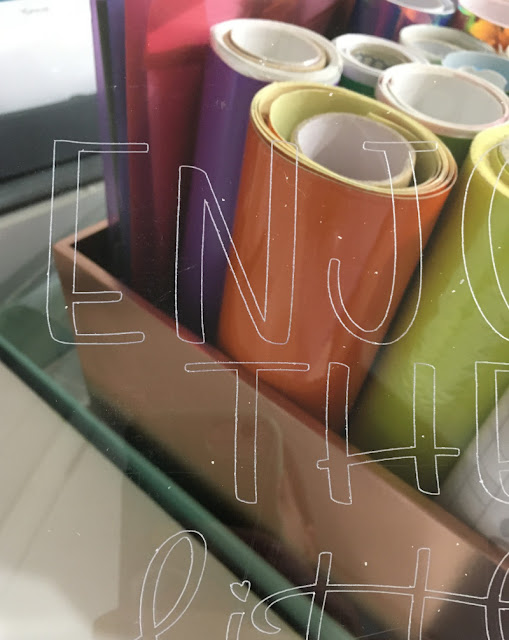
Start by removing the protective film from both sides of the acrylic panel and tape it down to a StrongGrip mat. This keeps the material from sliding around during the cutting process. Insert the Engraving tip into the right side housing. I had not done this yet in the picture below and the DesignSpace software reminded me before I started cutting. I am glad it is smarter than I am!
Make sure your design is going to be centered on your panel. You can move it around on the screen before beginning your cut.
Once the engraving has completed, remove the tape from the panel and use it to dab up the little pieces of plastic left from the engraving. You could also use a small brush or clean rag.
If you want the engraving to show up a little more, you can take a dry erase marker and trace the lines, wiping off the excess or you could paint the back of the panel.
I think the engraving tip is my new favorite Maker tool and I will definitely be using it for gifts this Christmas! I am trying to decide how to display this one. I can either make a wooden stand for it to sit in, place it in a frame (in place of the glass,) or drill holes in the corners and hang it. What do you think??
Paint the back to make the wording stand out more!
Pin Me for Later!
If you don't have a Maker, but need one now...here's the link you need!
Disclaimer: Comments submitted may be displayed on other websites owned by the sponsoring brand


No comments:
Post a Comment
Please note that comments have been turned off. (Providing a name and email is not required to leave a comment on this website. If you choose to leave a name and email address, you agree with the storage and handling of your data by this website)
Note: Only a member of this blog may post a comment.